
Building a commercial cleaning fleet from scratch is one of the biggest operational decisions a new cleaning business or facility management team will make. Get it right, and you have a lineup of machines and supplies that keeps clients happy, protects your crew from injury, and keeps liability claims off your desk. Get it wrong, and you end up with mismatched equipment, unhappy technicians, and a budget that bleeds money on repairs and replacements. This guide walks you through everything you need to think about before you buy a single machine – from core equipment categories and safety compliance to budgeting, maintenance planning, and long-term fleet growth.
What “Fleet” Really Means for a Cleaning Business
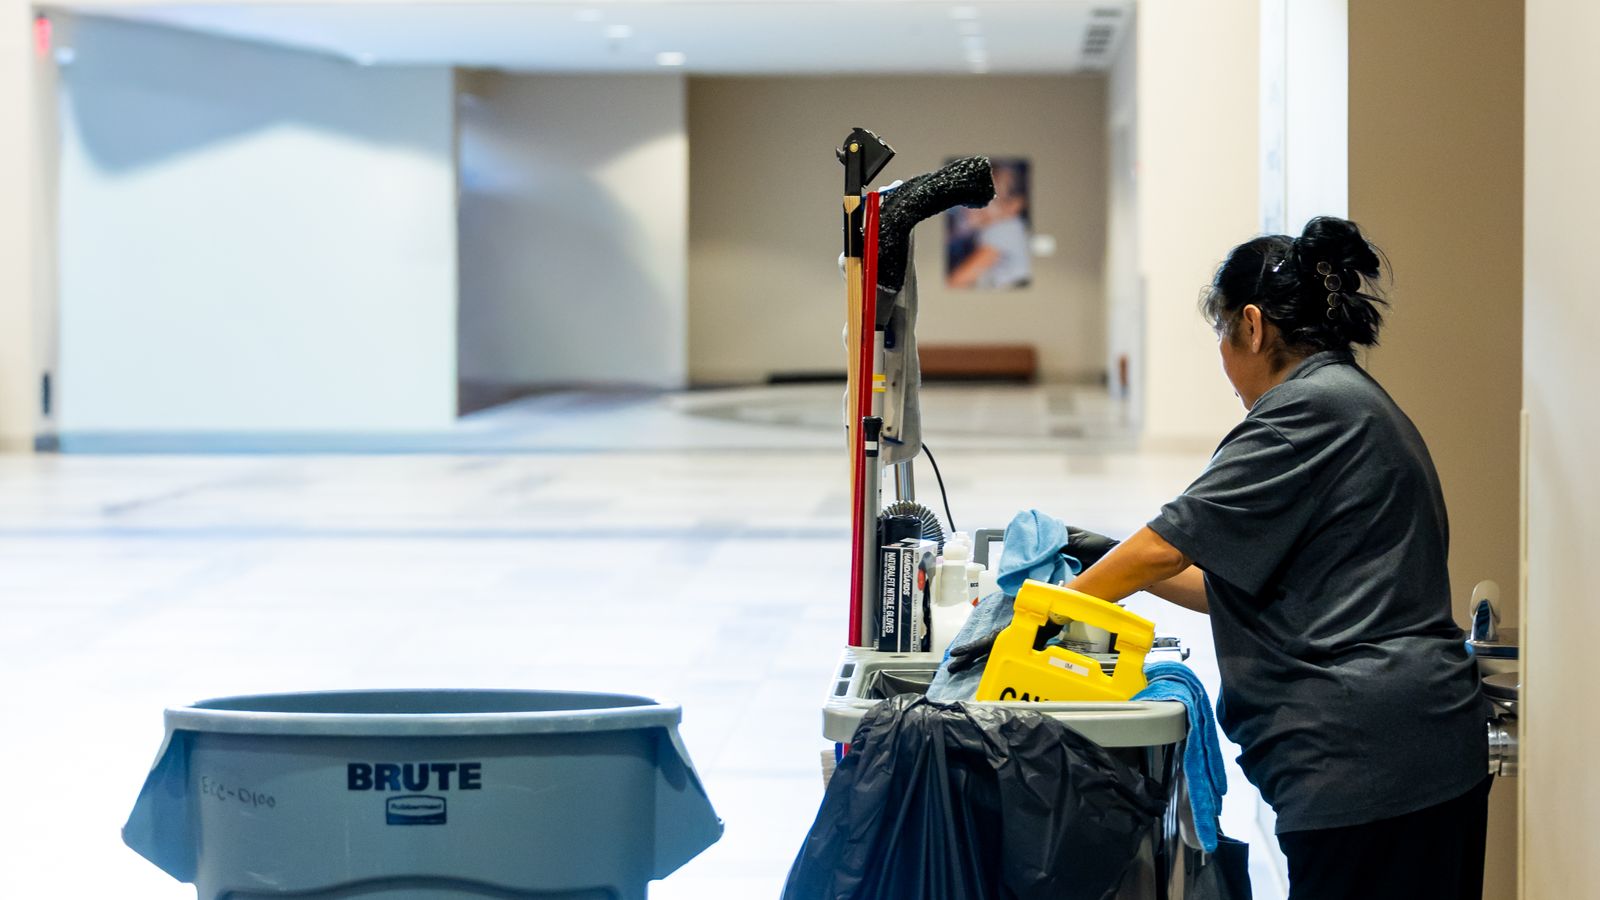
When people hear “fleet,” they often picture trucks and vans. In commercial cleaning, your fleet is really the full set of machines, carts, and consumable-dispensing systems that your crews rely on every shift: floor scrubbers, vacuums, carpet extraction equipment, chemical dilution systems, signage, and the transport gear that moves it all between job sites. Thinking of your equipment as a fleet – rather than a pile of individual purchases – changes how you plan. You start asking questions like: What’s the total cost of ownership? Which machines need to be standardized across teams? How do I rotate, maintain, and eventually replace each category on a predictable schedule?
A well-planned fleet also protects your bids. When you know exactly what a job requires – labor hours, machine wear, chemical usage – you can price contracts accurately instead of guessing and eating the difference in thin margins.
Step 1: Map Out the Core Equipment Categories
Before buying anything, list out the equipment categories your typical contracts actually require. Most commercial cleaning operations – office buildings, retail, schools, medical facilities – need some combination of the following:
- Vacuums – upright and backpack models for daily carpet and hard-floor maintenance.
- Floor care machines – auto scrubbers, buffers, and burnishers for hard-surface floors.
- Carpet extraction equipment – for deep cleaning carpets on a scheduled rotation rather than daily use.
- Chemical dilution and dispensing systems – to control cost, consistency, and worker chemical exposure.
- Safety signage – wet floor signs, caution cones, and barrier tape.
- Transport and storage carts – janitorial carts, mop buckets, and trolleys for moving supplies between rooms and floors.
Not every account needs every category on day one. A small office contract might only require vacuums, mopping supplies, and signage. A large retail or industrial account will likely need the full lineup, including carpet extraction and dilution systems. Match your first purchases to the contracts you already have, then expand as you win new business.
Prioritize by Contract Volume, Not by Wish List
New operators often overbuy equipment they don’t need yet – a top-of-the-line carpet extractor when their current book of business is entirely hard-floor retail spaces, for example. Instead, rank equipment purchases by which categories are used across the most current contracts. That tells you where your dollars deliver the fastest return.
Step 2: Get Safety and Compliance Right From the Start
Slip-and-fall incidents are one of the most common – and most expensive – liability issues in commercial cleaning. Insurers and property managers will ask about your safety protocols before signing a contract, and OSHA-style workplace safety expectations apply even to small crews. Building safety into your fleet from day one is far cheaper than retrofitting it after an incident.
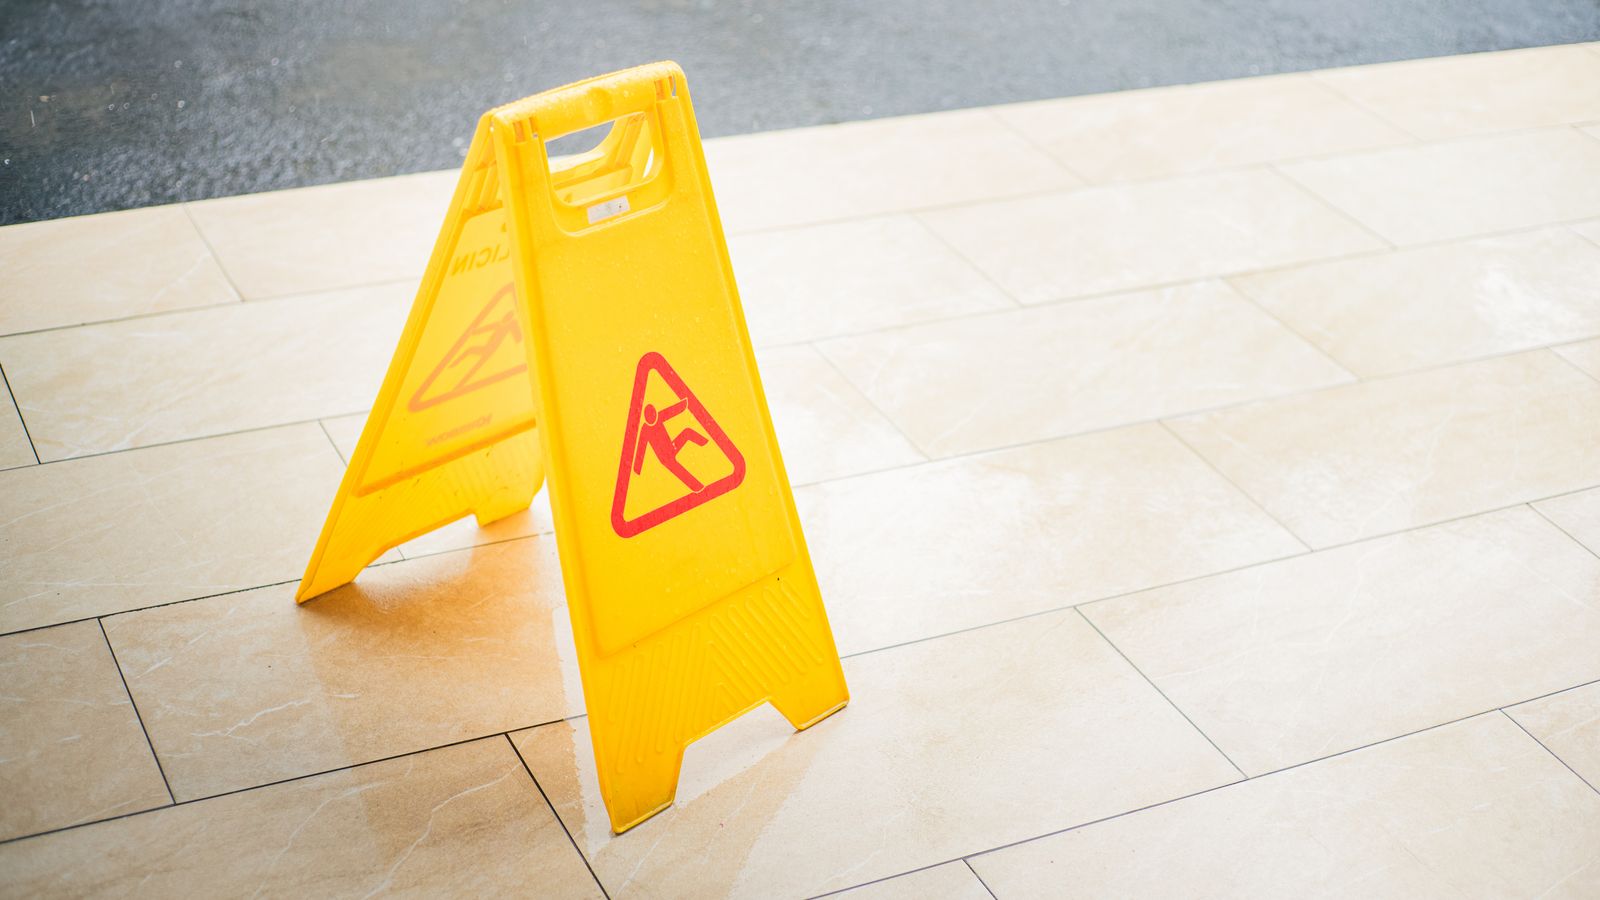
At minimum, every crew working on wet or freshly mopped floors needs visible wet floor signs placed at every entry point to the work area, not just where the mopping is happening. Buy enough signs that no technician is ever tempted to skip placing one because “there wasn’t one nearby.” A good rule of thumb is at least two signs per crew member working floors, plus spares kept on the cart.
Beyond signage, build a basic safety checklist into your fleet rollout: slip-resistant footwear for technicians, proper labeling on all chemical containers, spill-response kits on every cart, and documented training on ladder and equipment use. These aren’t optional extras – they’re the foundation that keeps your fleet (and your business) running without costly interruptions.
Step 3: Choose Floor Care and Vacuum Equipment for Durability
Vacuums and floor machines see the heaviest daily use of anything in your fleet, so durability and serviceability matter more than flashy features. Look for commercial-grade motors rated for continuous multi-hour use (residential vacuums burn out quickly under commercial workloads), replaceable filters and belts that are easy to source, and a manufacturer or distributor that stocks parts locally rather than requiring long shipping waits.
Standardizing on one or two brands across your fleet – rather than buying whatever’s cheapest each time – pays off in fewer spare parts to stock, faster technician training, and simpler maintenance scheduling. It also means machines are interchangeable between crews if one unit goes down mid-shift.
Step 4: Add Carpet Extraction Equipment for Deep Cleans
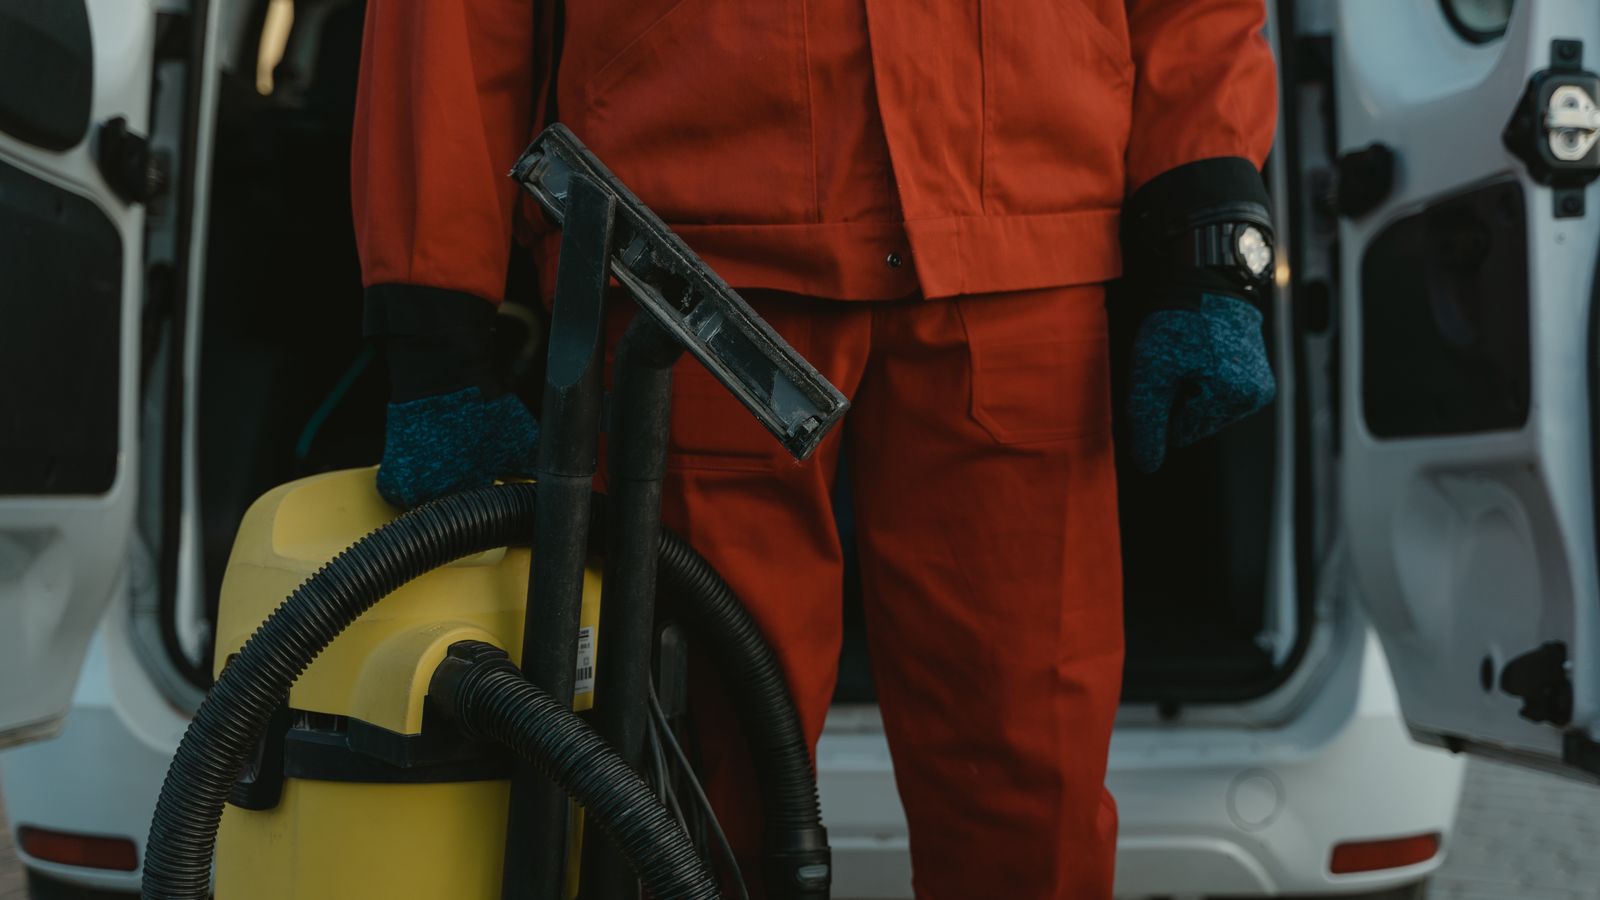
Daily vacuuming keeps carpets presentable, but it doesn’t remove embedded soil, allergens, or stains – that requires periodic deep extraction cleaning. If any of your contracts include carpeted offices, hotels, or common areas, budget for proper extraction equipment rather than trying to get by with rental units every time a client requests deep cleaning.
When you’re ready to invest, compare options among commercial carpet extractors based on tank capacity, heating capability (heated water dramatically improves stain and odor removal), and portability – walk-behind units cover large areas efficiently, while portable spot extractors are better suited to smaller rooms, stairs, and upholstery. Many fleets eventually carry both: a walk-behind extractor for scheduled deep cleans and a portable unit for spot response between visits.
Scheduling matters here too. Rather than reacting only when a client complains, build carpet extraction into your recurring service calendar – quarterly for moderate-traffic offices, monthly for high-traffic retail or healthcare settings. This keeps carpets looking consistently good and extends their usable life, which is a selling point when you’re bidding against competitors who only clean carpets on request.
Step 5: Standardize Your Chemical Program
Chemical costs and worker safety are two of the most overlooked areas in a new cleaning fleet. Buying pre-mixed, ready-to-use chemicals is convenient at first, but it’s expensive at scale and increases the risk of inconsistent dilution – either wasting product or under-diluting in ways that can damage surfaces or irritate skin and lungs.
Investing early in chemical dilution systems solves both problems. These systems mix concentrate with water at a fixed, calibrated ratio, which means every technician gets a consistent, safe solution every time, concentrate costs far less per gallon than pre-mixed product, and you cut down on plastic bottle waste since the same dilution stations can be reused across job sites. Dilution systems also reduce chemical exposure risk for your crew, since technicians handle concentrate far less often than they would mixing solutions by hand.
When choosing a system, prioritize wall-mounted or portable units that are easy to install at each client site (or centrally at your warehouse if you pre-fill bottles before dispatch), clear color-coding so technicians never mix up chemical types, and compatibility with the specific cleaning chemicals your contracts require – some clients have “green cleaning” requirements that limit which products you can use.
Step 6: Plan Your Transport and Storage Setup
Equipment is only useful if it can get to the job site in working condition. Janitorial carts, mop buckets with wringers, and enclosed storage bins keep chemicals secure and prevent damage to machines during transport between floors, buildings, or vehicles. For multi-site operations, a dedicated storage vehicle or trailer with racking to secure vacuums and extractors during transit prevents costly damage from equipment shifting in transit.
If you’re operating out of a central warehouse, set up a simple check-out and return system for equipment – a shared spreadsheet or basic inventory app works fine for small fleets. This prevents the common problem of machines “disappearing” between job sites and helps you spot equipment that’s overdue for maintenance.
Step 7: Build a Maintenance and Replacement Schedule
A cleaning fleet is only as reliable as its maintenance program. Machines that aren’t serviced regularly break down mid-shift, which means missed service windows and frustrated clients. Set up a simple maintenance calendar for each equipment category:
- Daily: Empty and rinse vacuum canisters and extractor tanks; wipe down exteriors; check cords for fraying.
- Weekly: Inspect and clean filters, brushes, and belts; check wheels and casters for debris buildup.
- Monthly: Test dilution system calibration; inspect hoses and seals on extraction equipment for leaks.
- Quarterly: Full manufacturer-recommended service on high-use machines; replace worn brush rolls and squeegees.
- Annually: Review each machine’s total runtime and repair history to decide whether it’s more cost-effective to keep repairing or to replace it.
Track repair costs per machine. If a single unit’s annual repair bill starts approaching a large percentage of its replacement cost, it’s usually cheaper in the long run to retire it than to keep patching it.
Step 8: Budget in Tiers, Not All at Once
You don’t need to buy every piece of equipment on day one, and trying to do so is one of the fastest ways to drain startup capital. Instead, budget in tiers based on what your current contracts actually demand:
- Tier 1 – Essentials: Vacuums, mop buckets, basic chemicals, and wet floor signs. This is the minimum viable fleet for almost any contract.
- Tier 2 – Efficiency upgrades: Chemical dilution systems and standardized janitorial carts, which reduce ongoing labor and product costs.
- Tier 3 – Specialized services: Carpet extraction equipment and floor buffing/burnishing machines, added once you win contracts that require them or want to bid on higher-value deep-cleaning work.
This tiered approach also makes it easier to justify equipment financing or leasing, since lenders and leasing companies can see a clear link between each purchase and revenue-generating contracts.
Common Mistakes to Avoid
A few missteps show up again and again in new cleaning operations:
- Buying residential-grade equipment to save money. It fails faster under commercial use and ends up costing more in replacements.
- Skipping signage because “it’s just a quick job.” A single slip-and-fall claim can cost far more than a lifetime supply of wet floor signs.
- Mixing chemicals by hand instead of using a dilution system. Inconsistent mixing wastes product and creates safety risk.
- Not tracking maintenance. Without a schedule, breakdowns happen at the worst possible time – mid-shift, on-site, in front of the client.
- Overbuying specialized equipment before you have the contracts to justify it. Match purchases to your actual service mix.
Frequently Asked Questions
How much should a new cleaning fleet cost to start?
It depends heavily on contract type, but most new operators can build a functional Tier 1 fleet – vacuums, mopping equipment, basic chemicals, and signage – for a modest initial investment, then reinvest contract revenue into dilution systems and carpet extraction equipment as the business grows.
Should I buy or lease commercial cleaning equipment?
Leasing can preserve cash flow early on, especially for higher-cost items like carpet extractors, but ownership is usually cheaper over the long run for equipment you’ll use continuously, like vacuums and floor machines. Many operators use a mix: own the essentials, lease specialized equipment until volume justifies a purchase.
How often should carpet extraction equipment be used?
For moderate-traffic offices, quarterly deep extraction is typical. High-traffic retail, healthcare, and hospitality settings often need monthly extraction to maintain appearance and hygiene standards.
Do I really need a chemical dilution system for a small crew?
Even small crews benefit – dilution systems reduce chemical waste and standardize output quality, which matters for client satisfaction and worker safety regardless of team size.
What’s the biggest safety risk in commercial cleaning?
Slip-and-fall incidents from unmarked wet floors remain one of the most common and costly liability issues, which is why proper signage should be one of the very first fleet investments, not an afterthought.
Final Thoughts
Starting a commercial cleaning fleet doesn’t require buying everything at once – it requires buying the right things in the right order. Start with the essentials your current contracts demand, layer in efficiency tools like chemical dilution systems, and add specialized equipment like carpet extraction machines as your service mix grows. Pair every purchase with a maintenance plan and a safety protocol, and your fleet will do what it’s supposed to: keep clients happy, keep your crew safe, and keep your business profitable for years to come.