

A moisture detection meter is one of the more sensitive electronic tools you’ll own. Whether you use it to check drywall after a leak, inspect wood flooring before installation, or catch hidden water damage during a home inspection, its accuracy depends on more than just fresh batteries. How you store the meter between jobs has a direct effect on its calibration, its sensor pins or plate, its display, and ultimately how much you can trust the numbers it gives you. Toss it loose in a truck bed or a junk drawer and you’re inviting dust into the sensor housing, corrosion on the pins, drained batteries, and a cracked screen right when you need the tool most.
This guide walks through why storage matters, what to do before you put the meter away, a step-by-step storage routine, and the mistakes that shorten a meter’s working life. If you’re shopping for a new unit or comparing options, our roundup of moisture detection meters is a good place to start.

Why Proper Storage Actually Matters
It’s tempting to think of a moisture meter as a rugged little gadget that can handle a beating. In reality, most consumer and pro-grade meters are precision instruments built around a calibrated sensor, a small circuit board, and a digital display, all packed into a plastic housing that is not always as sealed as it looks. Poor storage habits create three main problems.
Calibration Drift
Pin-type and pinless moisture meters are calibrated at the factory (and sometimes recalibrated by the user) to read moisture content accurately against a known reference. Extreme temperature swings, physical shocks from being dropped in a bag, or long-term exposure to humidity can nudge that calibration off just enough to give you readings that are a few percentage points wrong. On a job where you’re deciding whether drywall needs to be torn out or a subfloor is dry enough to install new flooring, a few percentage points can mean a costly mistake.
Moisture and Dust Intrusion
It sounds almost funny, but a device built to detect moisture is itself vulnerable to moisture. Condensation inside the housing, corrosion on the pin electrodes, or dust settling into the sensor plate on pinless models can all degrade sensitivity over time. Pins that have oxidized or picked up residue from previous materials will give inconsistent contact readings even when the electronics are fine.
Battery and Electronic Damage
Batteries left inside a meter that sits unused for weeks can leak, corroding the battery contacts and sometimes ruining the unit entirely. Cold storage (an unheated garage or a truck cab in winter) can also stress the battery chemistry and the LCD display, which may become sluggish or discolored in low temperatures.
Before You Store It: A Quick Prep Routine
Good storage starts the moment you finish using the meter, not when you finally get around to organizing your tool bag. Build this short routine into your workflow after every job.
- Power it off completely. Don’t rely on an auto-sleep feature. A full power-down protects the battery and resets the sensor for the next use.
- Wipe down the pins or sensor plate. Use a dry microfiber cloth to remove dust, drywall residue, or moisture from the contact points. For pin-type meters, gently clean between the pins where debris likes to collect.
- Inspect for damage. Check the pins for bends or corrosion, and check the housing for cracks that could let in moisture or dust during storage.
- Decide on battery removal. If you won’t use the meter for more than a few weeks, take the batteries out to prevent leakage.
- Attach or replace the pin cover. Most meters ship with a protective cap for the sensor pins – always use it, and replace it if it’s lost or cracked.
Step-by-Step: How to Store Your Moisture Detection Meter
Once the meter is clean, powered down, and protected, follow these steps to put it away properly.
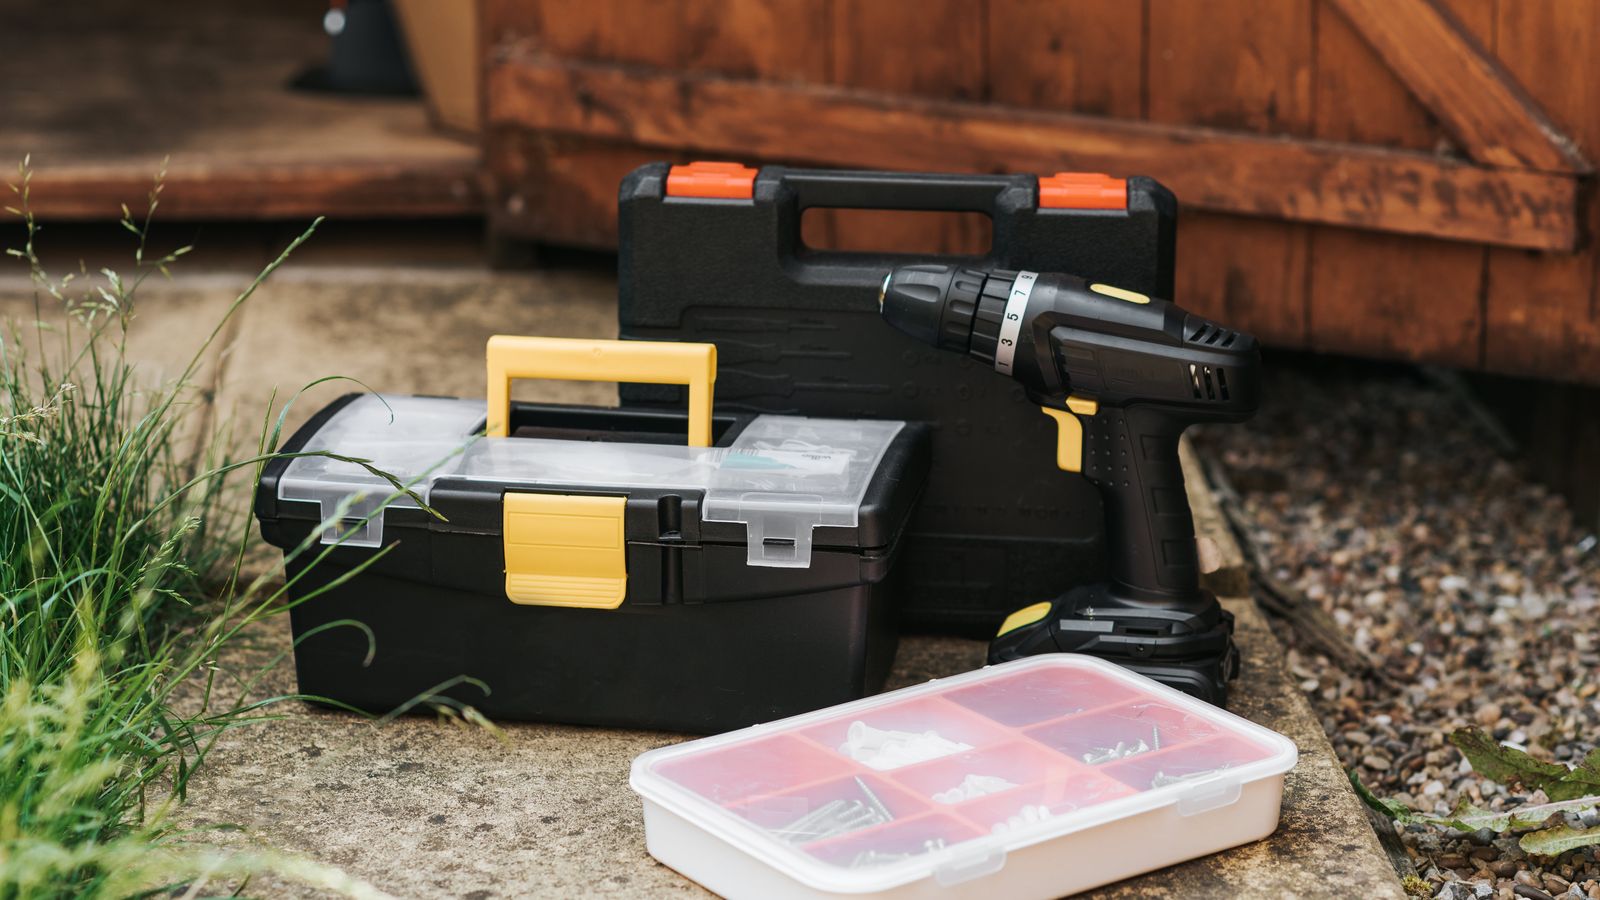
- Return it to its original hard case if you have one. Most moisture meters come with a molded plastic case designed to cushion the device and keep the sensor pins from contacting anything else. If the original case is lost, a small padded electronics case works as a substitute.
- Add a silica gel packet to the case. A single desiccant packet absorbs residual humidity inside the case, which is especially important if the meter was recently used in a damp environment like a basement or crawlspace.
- Store the case somewhere climate-controlled. Avoid unheated garages, attics, sheds, or vehicle trunks where temperatures swing widely between seasons. A closet shelf, a tool room, or an indoor storage cabinet is ideal.
- Keep it away from other tools that generate vibration or dust. If you store the case in a larger tool box or bin, position it away from power tools, grinders, or anything that produces fine dust that can work its way into seams.
- Store it upright or flat, not wedged at odd angles. Avoid stacking heavy tools on top of the case, which can crack the housing or bend the sensor pins over time.
- Label the storage spot. If multiple people share the tool, a dedicated, labeled spot cuts down on the meter being tossed into a random bag or drawer after a rushed job.
- Check it periodically. Every month or two, power it on briefly to confirm the display and readings still look normal, and swap in fresh batteries if it’s been sitting a long time.
Extra Tips for Long-Term Storage
- Separate it from cleaning chemicals. If your storage cabinet also holds cleaning solutions or solvents for other equipment, keep the meter on a separate shelf. Fumes from some cleaning products can degrade plastic housings and rubber seals over time.
- Avoid direct sunlight. UV exposure through a window can fade the display and make plastic housings brittle.
- Recalibrate before high-stakes jobs. If the meter has been in storage for an extended period, verify its reading against a known reference material before relying on it for an important inspection.
- Keep the manual and calibration certificate together with the case. Slipping a copy of the manual into the case saves time if you ever need to check calibration procedures or warranty details.
- Rotate seasonal storage locations if needed. If your only available storage space is a garage, move the meter indoors during the coldest and hottest months rather than leaving it there year-round.
Common Mistakes to Avoid
- Leaving batteries in for long-term storage. This is the single most common cause of ruined battery contacts on meters that sit unused for months.
- Tossing the meter loose into a tool bag. Without a protective case, pins bend, screens scratch, and dust works its way into every seam.
- Storing it in a vehicle year-round. Cars and trucks experience some of the widest temperature swings of any storage location, which stresses both the battery and the display.
- Ignoring visible corrosion on the pins. Corroded pins give inaccurate readings and should be cleaned or replaced before the next job.
- Skipping the desiccant packet. A meter used regularly in damp environments accumulates residual humidity in its case; a fresh packet every few months keeps that in check.
- Stacking heavy items on top of the case. Even a sturdy hard case can crack under sustained weight from other tools or equipment.
Building a Simple Storage Setup
If you’re outfitting a small home workshop or a service van, a moisture meter rarely needs to sit alone. Many pros keep it alongside other diagnostic and cleanup gear used for the same type of jobs – water damage assessment, carpet drying, or post-cleaning inspections. If you’re setting up equipment for damage restoration or deep cleaning work, it’s worth looking at complementary tools like bonnet cleaning machines for carpet and upholstery work, or air scrubbers for improving air quality during drying and remediation projects. Keeping related equipment organized in the same storage area, even if stored in separate protective cases, makes it easier to grab everything you need for a job in one trip.
Frequently Asked Questions
Can I leave the batteries in my moisture meter if I use it every week?
If you’re using the meter regularly, leaving batteries in is generally fine. The risk of leakage rises mainly during extended idle periods, so remove batteries if you know the meter will sit unused for a month or longer.
How often should I recalibrate my moisture meter?
Check your manufacturer’s guidance, but a good rule of thumb is to verify calibration before any job where the reading will drive a major decision, and always after a period of extended storage, a drop, or exposure to extreme temperatures.
What’s the best temperature range for storing a moisture meter?
Aim for normal indoor room temperature, roughly 60-75°F. Avoid storing it anywhere that regularly drops below freezing or climbs above 100°F, such as an uninsulated shed or a closed vehicle in summer.
Do I need a hard case, or is a soft pouch good enough?
A hard case offers better protection against drops and crushing, which matters most if the meter travels in a tool bag or truck bed. A soft pouch can work for careful indoor storage but offers less protection during transport.
My meter’s pins look corroded – should I replace the whole unit?
Not necessarily. Light corrosion can often be cleaned off gently with a dry cloth or fine abrasive pad designed for electronics contacts. If corrosion is severe or the pins are bent, check whether replacement pins are available before assuming the entire meter needs replacing.
Final Thoughts
A moisture detection meter earns its keep by giving you numbers you can trust, and that trust starts with how you treat the tool when it’s not in your hand. A quick wipe-down, a protective case, a desiccant packet, and a climate-controlled shelf are small habits that add up to a meter that stays accurate for years instead of drifting out of calibration after a single rough season. Build the prep-and-store routine into the end of every job, and your meter will be ready to give you reliable readings the next time you need them.