
An air fryer earns its keep fastest when the accessories around it actually work together. Instead of digging through drawers for a stray pastry brush, spinning your basket by hand to check the far side, or watching thin strips of chicken and thick potato wedges cook unevenly in the same basket, a small prep-and-serving kit solves all three problems at once. This guide walks through exactly what to buy, why each piece matters, and how to set it up so every air fryer session runs smoother from the first spritz of oil to the final plate.
Why a Dedicated Prep and Serving Kit Matters
Air fryers reward a little bit of preparation. A thin, even layer of oil helps food brown instead of drying out. Consistent airflow around every piece keeps textures uniform. And when the basket holds foods with different cook times or moisture levels, keeping them physically separated prevents flavors and juices from mixing. Most people already own tools that sort of handle these jobs – a spoon for oil, a pause-and-shake habit for airflow, foil dividers cut by hand for separation – but none of those workarounds perform as well as purpose-built accessories.
Building a small, dedicated kit means you stop improvising every time you cook. Three accessories cover the core needs: an air fryer oil brush for controlled, even oiling; an air fryer turntable for hands-free rotation and consistent browning; and an air fryer basket divider for cooking multiple foods at once without cross-contamination of flavor or moisture.
The Three Core Accessories You’ll Need
1. Air Fryer Oil Brush
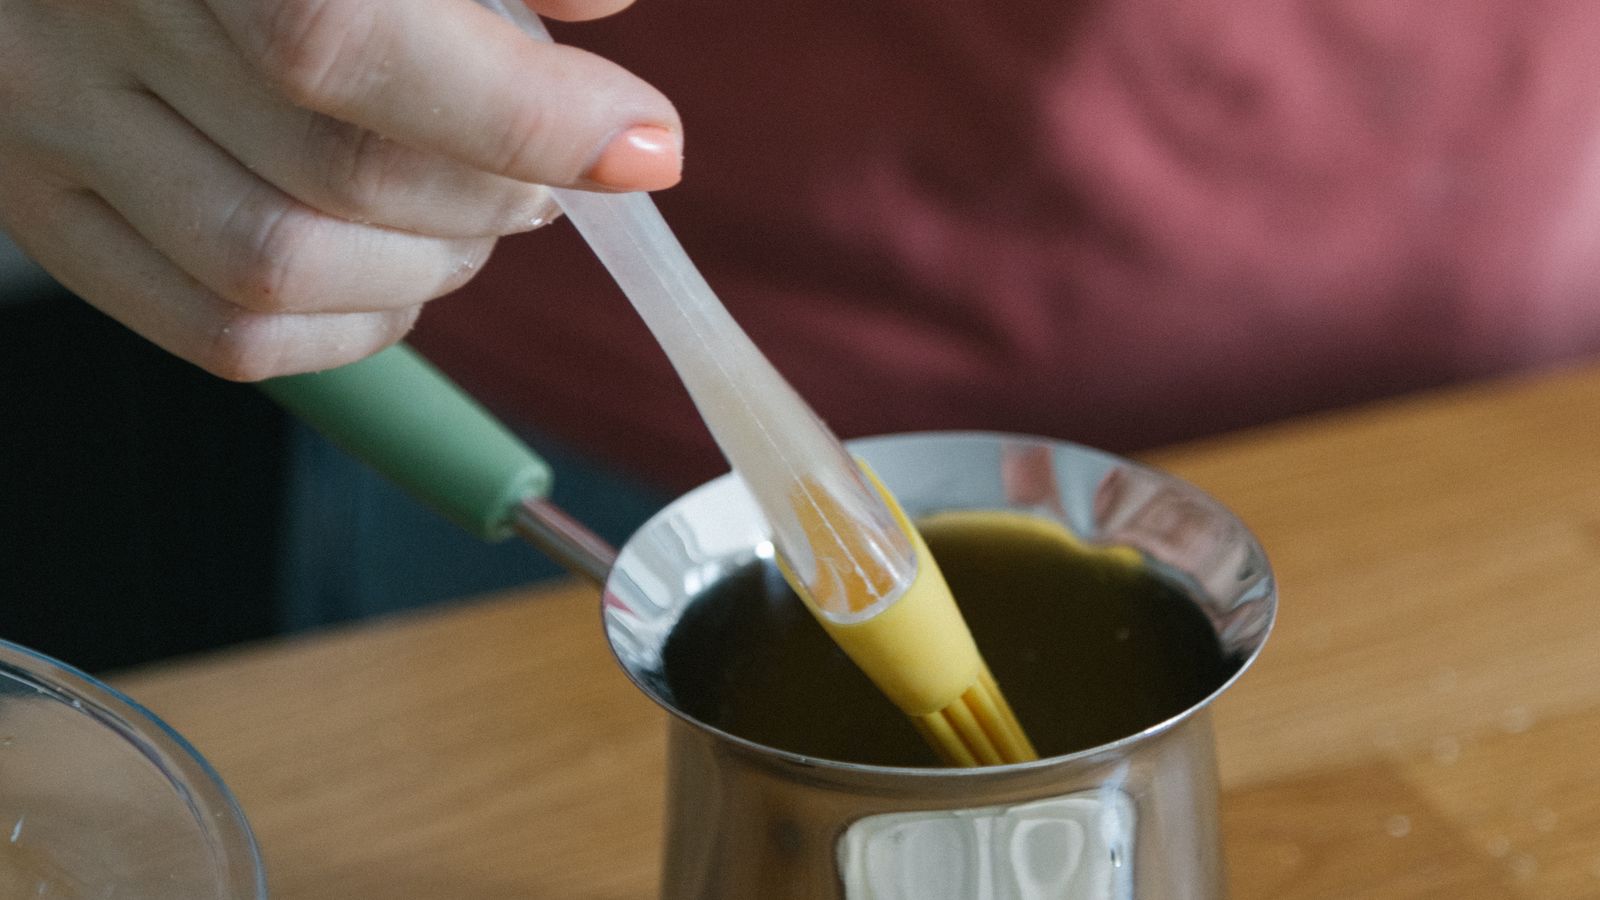
A silicone basting brush is one of the cheapest upgrades you can make to your air fryer routine. Compared to a spray bottle, a brush lets you control exactly how much oil goes onto each surface – important because too much oil pooling in the basket can cause smoking, while too little leaves food dry and pale. Silicone bristles are heat-resistant, don’t shed like natural bristle brushes, and clean up in seconds under running water or in the top rack of a dishwasher.
Look for a brush with a comfortable handle length that keeps your hand away from the hot basket, densely packed bristles that hold oil without dripping excessively, and a head small enough to reach into basket corners. If you’re deciding between models, this roundup of air fryer oil brushes compares bristle types, handle designs, and price points so you can match a brush to how often you cook.
2. Air Fryer Turntable
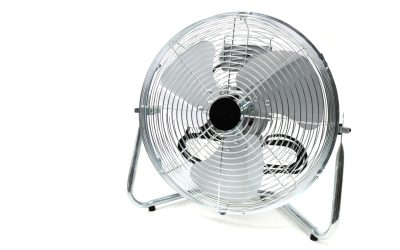
Most air fryer baskets rely on rapid air circulation, but food sitting still in one spot can still brown unevenly, especially in smaller countertop units or rotisserie-style baskets. A turntable accessory rotates food automatically, so every side gets equal exposure to the heating element without you needing to pause the cycle and shake the basket manually.
Turntables are especially useful for items that are awkward to shake – whole chicken wings piled several layers deep, skewers, or delicate battered foods that can fall apart when tossed. Not every turntable fits every air fryer model, so pay close attention to basket diameter and compatibility before buying. The air fryer turntables guide breaks down which models fit common basket sizes and how much rotation speed control they offer.
3. Air Fryer Basket Divider
A basket divider is a simple metal or silicone insert that splits your air fryer basket into two or more sections. This lets you cook two different foods – say, chicken tenders and a side of vegetables – in a single batch without their flavors, oils, or moisture mixing together. It also helps when foods need different cook times; you can pull one section out early while the other keeps cooking.
Good dividers are made from materials that won’t warp under high heat, have handles or tabs for easy removal, and are sized to fit snugly against your specific basket without leaving large gaps. Because basket shapes vary so much between brands, compatibility is the single biggest factor to check. The air fryer basket dividers guide lists which divider styles work with square, oval, and drawer-style baskets.
How to Set Up Your Prep and Serving Kit: Step-by-Step
- Measure your air fryer basket first. Before buying anything, note your basket’s shape (round, square, or oval), its interior diameter or width, and its depth. This single step prevents the most common return: a turntable or divider that doesn’t fit.
- Choose your oil brush based on bottle compatibility. Some brushes come with an attached oil reservoir bottle, others are standalone silicone heads you dip into a dish. Decide which style fits your prep habits, then order one from the linked roundup above.
- Confirm turntable compatibility before ordering. Check the manufacturer’s listed basket sizes against your own measurements, and confirm whether your air fryer model has enough interior clearance height for a rotating attachment.
- Pick a divider that matches your basket’s footprint. A divider that’s too small will let food and oil migrate between sections; one that’s too large won’t seat properly and can block airflow.
- Wash all three accessories before first use. Even new silicone and metal accessories can carry manufacturing residue. A quick hand wash or dishwasher cycle handles this.
- Do a dry run. Place the empty divider and turntable into your basket to confirm they seat correctly and the basket still slides into the air fryer housing without resistance.
- Season and oil your first batch using the brush. Apply a thin, even coat to each food item rather than one dip. This is where most of the visible improvement in browning happens.
- Load the divided basket strategically. Put denser, longer-cooking foods on one side and quicker-cooking items on the other so you can remove sections independently.
- Attach the turntable per the manufacturer’s instructions and start cooking. Check midway through the cycle to make sure rotation is smooth and nothing has shifted.
Tips for Getting the Most Out of Your Kit
- Store the oil brush, turntable, and divider together in one drawer or a small caddy near the air fryer so setup becomes a quick habit instead of a hunt.
- Re-oil brushes should be wiped dry between coats of different oils (like olive oil versus avocado oil) to avoid flavor transfer.
- Check turntable attachment points for wear every few months – the plastic gears in budget models can degrade with heavy use.
- Silicone dividers are generally more forgiving of odd basket shapes than rigid metal ones, but metal dividers tend to hold their form better over years of use.
- When cooking with a divider, keep both sections roughly equal in food volume so airflow stays balanced across the whole basket.
Common Mistakes to Avoid
- Skipping the measurement step. Buying a turntable or divider before confirming basket dimensions is the number one reason these accessories get returned.
- Overloading the oil brush. Dripping too much oil into the basket can cause smoking and uneven frying rather than better browning.
- Forcing a divider that doesn’t fit. Wedging in an oversized divider can restrict airflow and lead to soggy, unevenly cooked food on both sides.
- Ignoring manufacturer weight limits on turntables. Overloading a rotating attachment can strain the motor or cause it to stall mid-cycle.
- Never cleaning silicone accessories. Oil residue left on brushes and dividers can turn rancid and affect the taste of future meals.
Frequently Asked Questions
Do I need all three accessories at once?
No. Each accessory solves a different problem, so you can start with whichever addresses your biggest frustration – usually the oil brush first, since it’s the cheapest and most universally useful, followed by a divider or turntable depending on what you cook most.
Will a basket divider reduce airflow and cooking performance?
A properly sized divider that leaves gaps for airflow should not meaningfully affect performance. Problems only arise when a divider is too large for the basket or blocks the primary airflow path from the heating element.
Are silicone oil brushes safe at air fryer temperatures?
Yes, food-grade silicone brushes are typically rated well above the temperatures air fryers reach, but always check the manufacturer’s maximum heat rating before use, especially with lower-cost brushes.
Can a turntable fit any air fryer model?
No. Turntables are sized for specific basket diameters and depths, so compatibility must be checked against your exact air fryer model before purchase.
How often should I replace these accessories?
Oil brushes typically need replacing when bristles start shedding or losing shape, usually after regular use over a year or more. Dividers and turntables can last much longer if kept clean and inspected periodically for cracks, warping, or worn gears.
Final Thoughts
A well-planned air fryer prep and serving kit turns three separate annoyances – uneven oiling, inconsistent browning, and mixed-up baskets – into a smooth, repeatable routine. Start by measuring your basket, then work through the linked guides above to pick an oil brush, turntable, and divider that actually fit your air fryer. Once the kit is assembled and stored within reach, every cooking session gets a little faster and a little more consistent.