
A cluttered accessory drawer is one of the most common reasons air fryer owners stop using half of what they own. If you have a bare-bones drawer with a single basket and nothing else, you are missing out on crispier wings, evenly browned baked goods, and easier cleanup. Building a small, purposeful starter kit around three core accessories – a toaster oven pan, a rack for wings, and a general-purpose tray – solves most of the everyday cooking gaps without turning your kitchen storage into chaos.
This guide walks through exactly which pieces to buy first, how to organize them so they are actually easy to reach, and the habits that keep a small kit useful instead of becoming another junk drawer.
Why a Starter Kit Beats Buying One Accessory at a Time
Most people build their accessory collection reactively: they see a recipe that calls for a rack, buy one rack, then a month later need a pan and buy that too. The result is a drawer full of single-purpose gadgets that do not stack well, do not fit the same air fryer basket, and get forgotten.
A starter kit approach flips that. You choose three pieces up front that cover the widest range of everyday cooking – baking, high-airflow crisping, and general roasting or reheating – and you pick sizes that nest together. That means less drawer space, fewer duplicate purchases, and a setup you actually reach for on a weeknight.
The Three Core Pieces of the Starter Kit
1. A Toaster Oven Pan
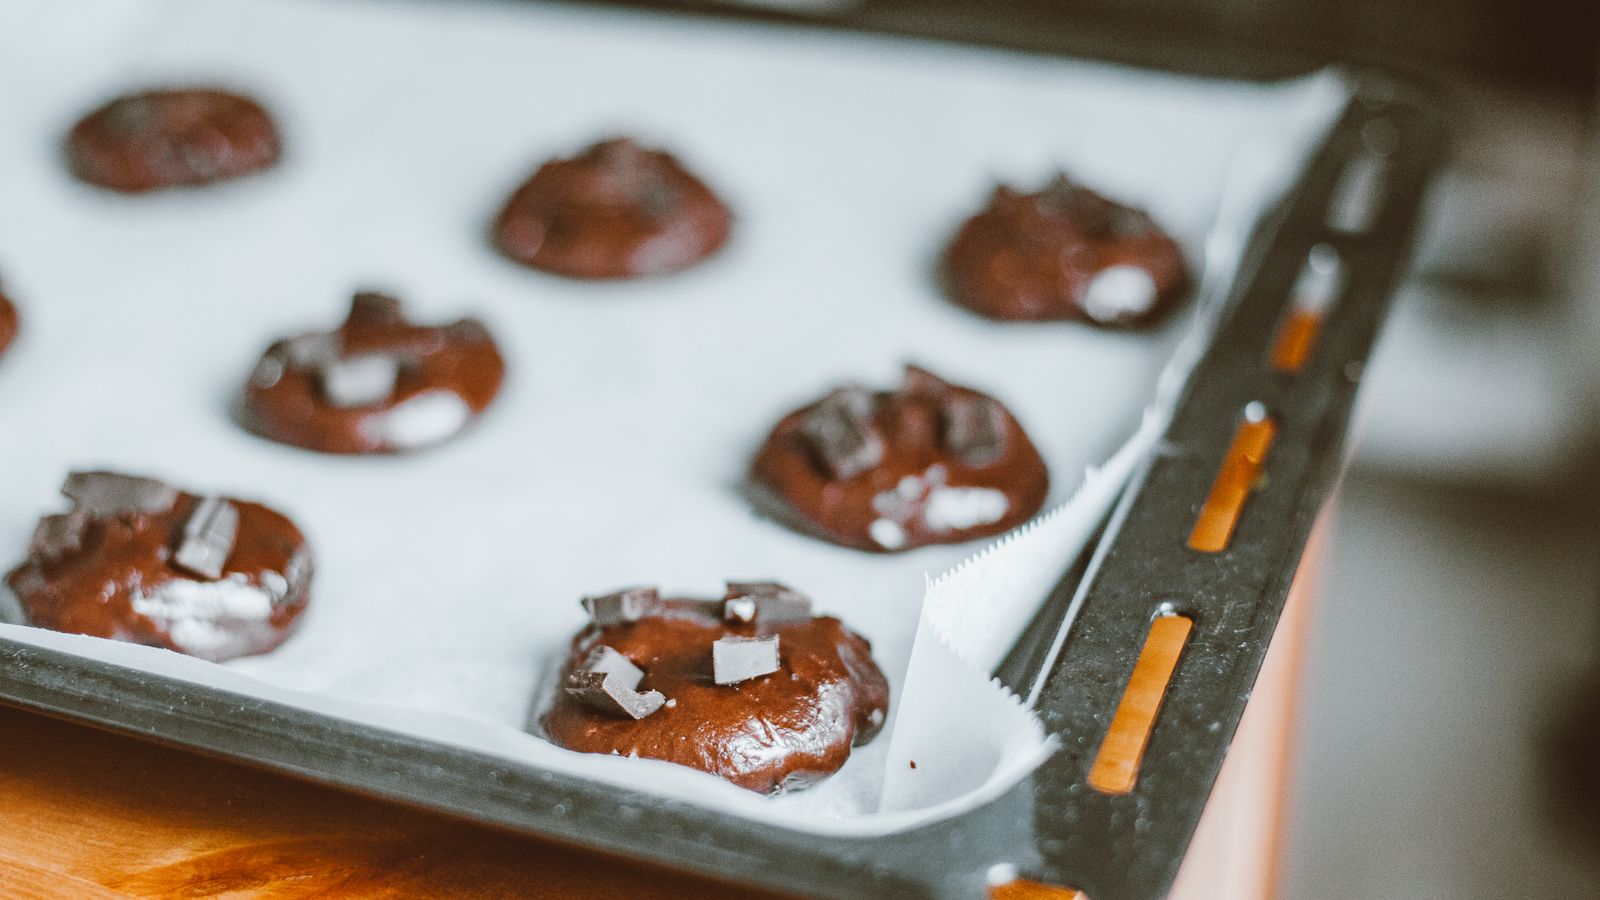
A shallow metal pan sized for your air fryer or toaster-oven-style unit is the single most versatile accessory you can own. It is what you reach for when you are baking cookies, roasting cut vegetables, reheating leftovers, or cooking anything with sauce or marinade that would drip through a basket. Look for a pan with a non-stick or well-seasoned surface, rolled edges for grip, and a size that leaves at least half an inch of clearance around the air fryer’s heating element for proper airflow. Browsing a curated list of toaster oven pans is the fastest way to compare capacities and materials before buying.
2. An Air Fryer Rack for Wings
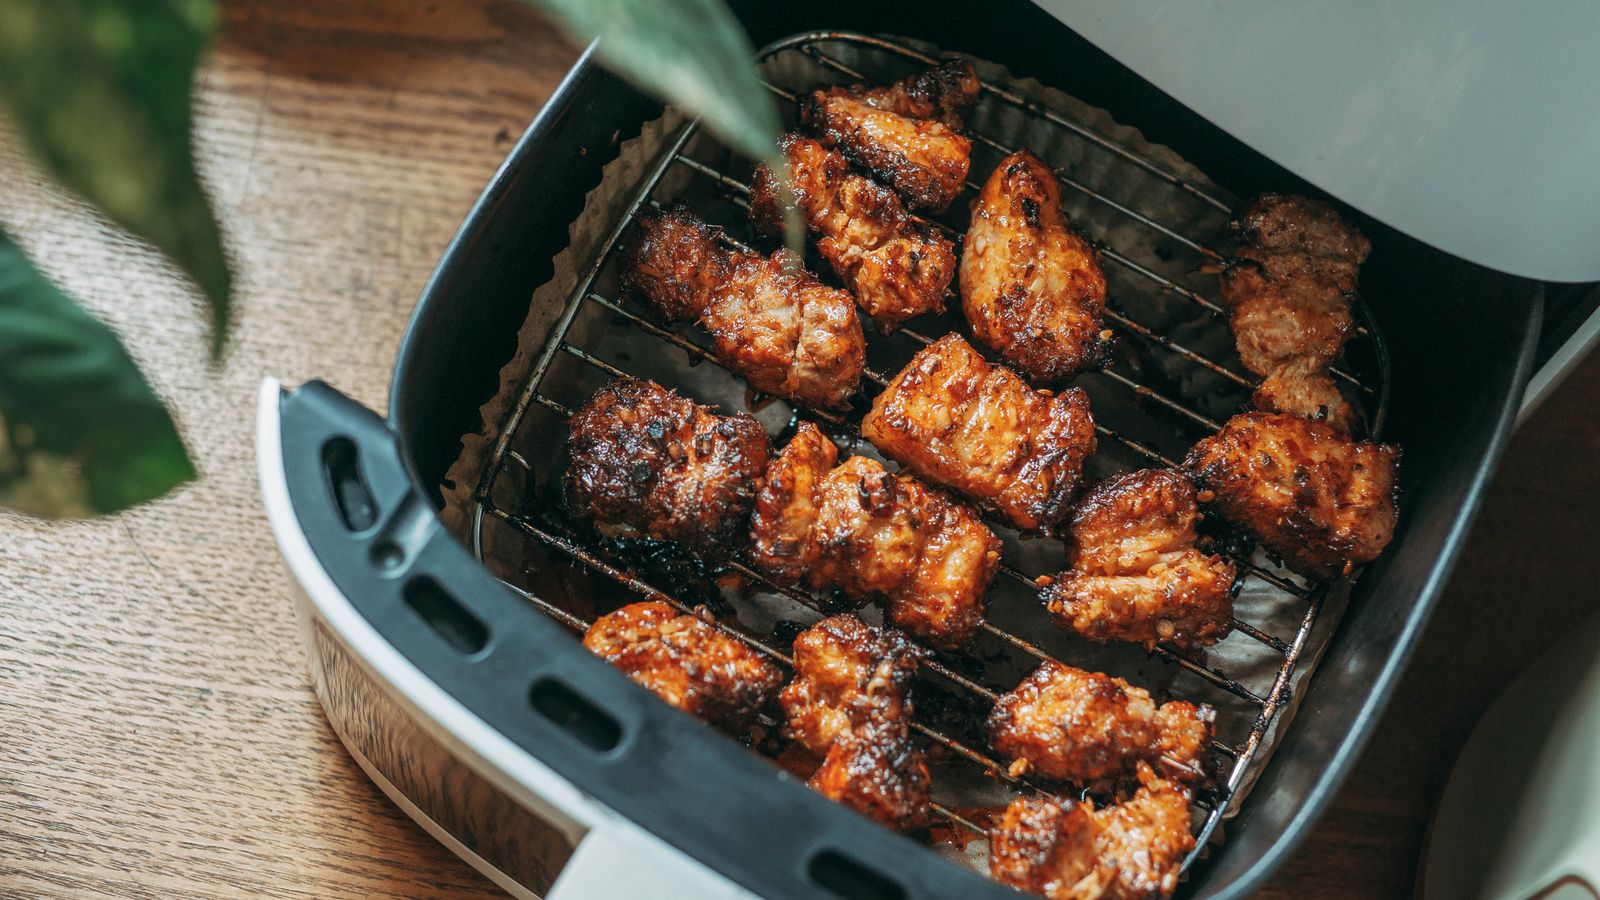
If chicken wings, drumsticks, or bacon are a regular part of your rotation, a wire rack designed specifically for wings changes the outcome dramatically. Instead of wings sitting flat and steaming on one side, a raised rack lets hot air circulate underneath and around each piece, so the skin crisps evenly without flipping halfway through cooking. Many racks also double capacity by letting you cook in two layers at once. When shopping, prioritize a rack rated for high heat, with legs tall enough to clear grease drips, and dimensions that match your basket. A dedicated roundup of air fryer racks for wings is a good place to compare leg height and wire spacing side by side.
3. An Air Fryer Tray
The third piece rounds out the kit with a flat or lightly perforated tray that handles everything the pan and rack are not built for – reheating pizza slices, toasting bread, laying out smaller items like tater tots or dumplings, and catching crumbs so they do not scorch on the heating coil. A tray is typically lighter and shallower than a toaster oven pan, which makes it the piece you grab for quick jobs. Compare perforated versus solid styles and non-stick coatings in a list of air fryer trays before settling on one.
Step-by-Step: How to Build and Organize the Drawer
- Measure your air fryer’s basket or oven cavity first. Note the interior width, depth, and height before buying anything. Every accessory you add should fit with room for air to circulate – a pan or rack jammed against the heating element will cook unevenly and can warp over time.
- Buy the pan first. It covers the widest range of recipes, so it should be the first purchase and the piece you test your air fryer’s settings with.
- Add the wing rack next. If wings, ribs, or bacon show up on your menu even occasionally, this is the second-highest-value piece because of how much it improves texture over cooking directly in the basket.
- Round out the kit with a tray. This becomes your everyday, low-effort tool for reheating and small batches.
- Assign each piece a fixed spot in the drawer. Stack the pan on the bottom since it is heaviest and least frequently used for quick jobs, the tray in the middle since it gets used most often, and the rack on top or standing in a vertical divider so its wire feet do not get bent under other items.
- Use a drawer divider or vertical organizer if your kit grows. Flat trays and pans are prone to sliding around and scratching each other; a simple tension rod or dish rack repurposed as a divider keeps them upright and separated.
- Label or color-code accessories that look similar in size. A small strip of tape noting “wings only” or “bake” on the underside of a piece saves time when you are cooking in a hurry.
- Do a trial run with each piece before committing. Cook a simple batch – a tray of vegetables, a rack of wings, a pan of cookies – so you know exactly how each accessory performs in your specific model before you rely on it for a real dinner.
Tips for Getting the Most Out of a Small Kit
- Choose accessories in materials that are dishwasher-safe or at least easy to hand-wash; a kit you dread cleaning stops getting used within weeks.
- Stick to accessories made for your air fryer’s approximate size class rather than buying the largest option available – oversized pans and racks block airflow and lead to uneven cooking.
- Preheat the air fryer with the rack or pan already inside if your manufacturer recommends it; this shortens cook times and improves browning.
- Keep a lightweight silicone brush or spray bottle near the drawer so oiling the rack or tray becomes part of the routine instead of an extra step you skip.
- Rotate which accessory you reach for based on the food’s shape: flat and dry foods go on the tray, anything with skin that needs crisping on all sides goes on the rack, and anything liquid or delicate goes in the pan.
Common Mistakes to Avoid
- Buying accessories before measuring the basket. A pan or rack that is even a quarter-inch too large will not seat properly and can block the heating element.
- Overcrowding a single accessory. Piling wings on top of each other on the rack defeats the purpose – airflow needs space between pieces to work.
- Ignoring material limits. Not every pan or tray is rated for the same maximum temperature as your air fryer; check the manufacturer’s heat rating before your first high-temp cook.
- Storing wet accessories in the drawer. Moisture trapped between stacked metal pieces encourages rust on lower-quality racks and pans; dry everything fully before putting it away.
- Skipping the trial run. Every air fryer heats slightly differently, and assuming a new accessory will behave exactly like your basket often leads to overcooked or undercooked results the first time.
Frequently Asked Questions
Do I need all three accessories to get started, or can I add them over time?
You do not need to buy all three at once. Start with the toaster oven pan since it covers the broadest range of everyday cooking, then add the wing rack and tray as your budget and needs allow. The goal of a starter kit is coverage, not volume, so even one well-chosen piece is a meaningful upgrade over cooking everything directly in the basket.
Will a wing rack work for foods other than chicken wings?
Yes. A wing rack’s raised, ventilated design also works well for bacon, sausages, ribs, and even reheating fried foods so they stay crisp instead of turning soggy. The key benefit – airflow underneath the food – applies to any item that benefits from crisping on all sides.
How do I know if a toaster oven pan will fit my air fryer?
Check the interior dimensions of your air fryer’s basket or oven cavity against the pan’s listed length and width, and leave a small buffer on each side for air circulation. Many manufacturers list a recommended maximum pan size in the product manual, so it is worth checking that before ordering.
Can I stack the pan, rack, and tray together during storage?
Yes, as long as they are completely dry and none of them have delicate non-stick coatings that could scratch against each other. Placing a thin cloth or paper towel between stacked pieces is an easy way to protect coatings if drawer space is tight.
How often should I replace these accessories?
Replace any piece once the non-stick coating visibly flakes, the metal warps enough to sit unevenly, or wire racks develop rust that does not scrub off. With regular hand-washing and proper drying, a good starter kit can last for years before any piece needs replacing.
Final Thoughts
A well-planned accessory drawer does not need to be large to be useful – it needs to be intentional. Pairing a toaster oven pan, a rack built for wings, and a general-purpose tray covers nearly every common air fryer task, from baking to crisping to quick reheats, while keeping storage simple. Measure your unit, buy in that order, give each piece a fixed spot, and you will get far more consistent results than cooking everything in a single basket ever could.