
Every air fryer owner eventually asks the same question: is that stained, scratched-up portion tray still safe to cook on, or is it time to buy a new one? The tray sitting inside your basket takes more punishment than any other part of the appliance – direct heat, hot oil, metal utensils, and daily scrubbing all wear it down faster than people expect. This guide walks through exactly how long a portion tray should last, the warning signs that mean it’s done, and how to get more mileage out of your next one.
Why Portion Trays Wear Out Faster Than Other Parts
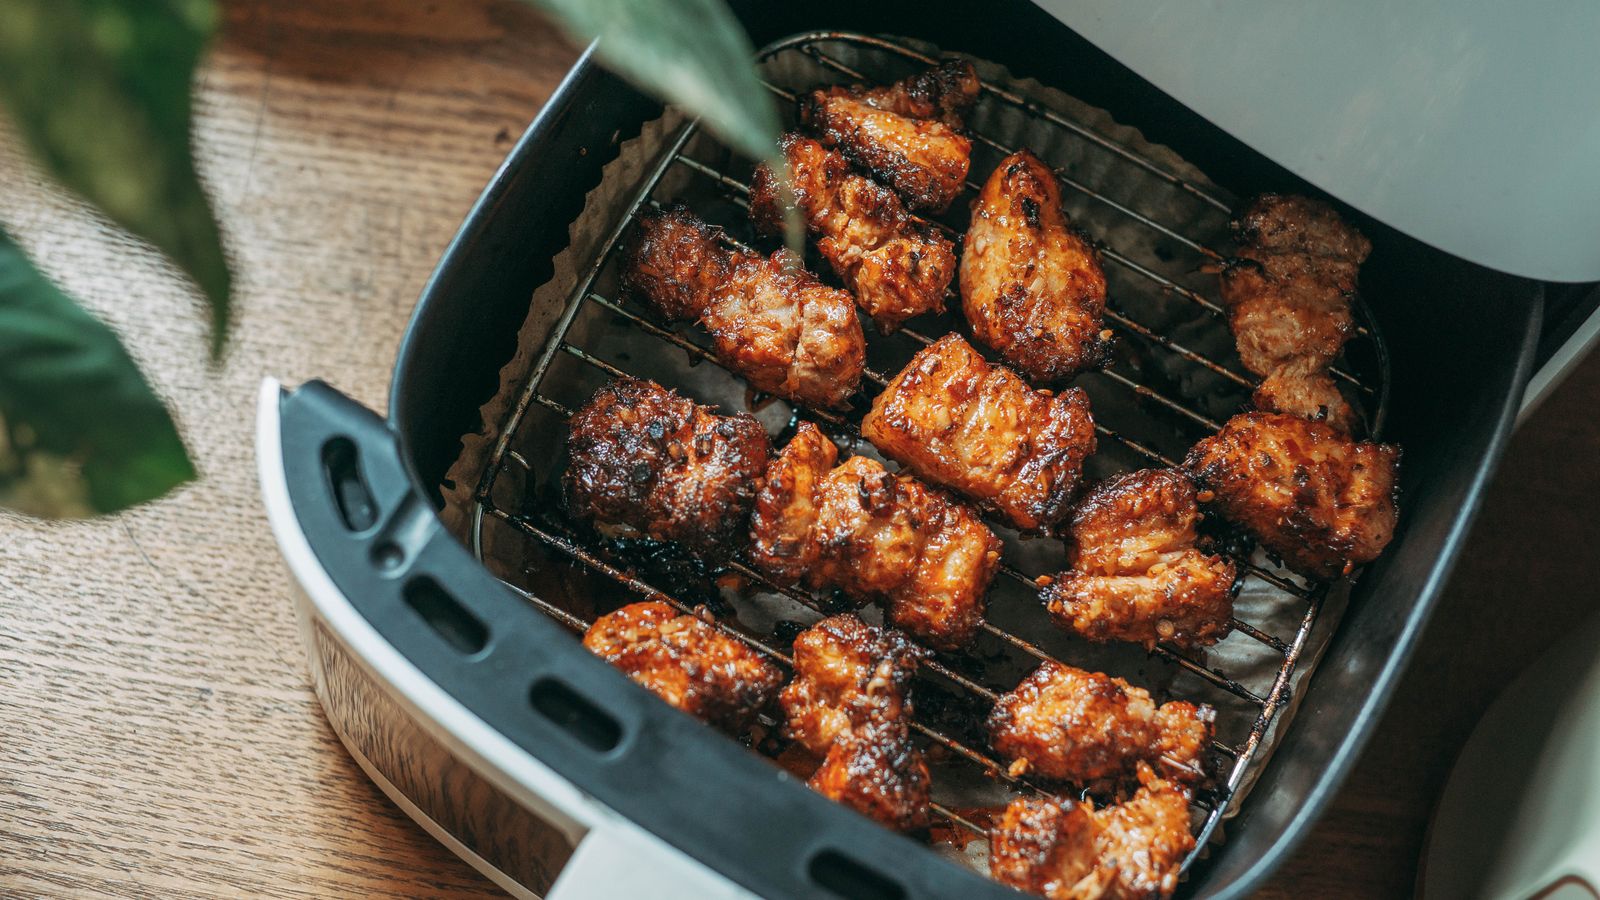
The portion tray – also called a crisper tray, divider insert, or rack – sits directly beneath the heating element and holds your food throughout the entire cook. That means it absorbs constant heat cycling, oil splatter, and physical contact from tongs, spatulas, and scrubbing pads. Compare that to the outer housing or control panel, which barely touch food or heat directly, and it’s easy to see why the tray is usually the first component to show its age.
Lifespan depends heavily on what the tray is made of:
- Non-stick coated aluminum: The most common and most affordable option, but the coating is also the most fragile. Expect 6-12 months with regular use before sticking or flaking sets in.
- Stainless steel: Handles scratches and high heat much better, though repeated thermal cycling can eventually cause warping or discoloration. Typically lasts 2-4 years.
- Ceramic-coated: A step up in heat tolerance from standard non-stick, but the coating can still chip on impact. Generally good for 1-2 years.
A Realistic Replacement Timeline
If you use your air fryer several times a week, plan to check the tray for wear every 3-4 months, with a full replacement typically needed somewhere between 6 months and 2 years depending on the material. Lighter, occasional use – a few times a month – can push that timeline out to 2-3 years before replacement becomes necessary.
A few habits shift that timeline in either direction:
- How hot and how often you cook: Daily high-heat cooking (400°F and up) for foods like wings and fries wears trays down noticeably faster than occasional reheating.
- What utensils you use: Metal tongs and forks scratch through non-stick coatings much faster than silicone-tipped tools.
- Dishwasher vs. hand washing: Detergent and heat cycles in a dishwasher, even on “safe” trays, tend to shorten coating life compared to gentle hand washing.
- How consistently you clean it: Letting grease bake on over multiple cooks without a deep clean traps heat unevenly and stresses the surface over time.

Warning Signs It’s Time for a New Tray
A failing tray usually gives you plenty of notice before it becomes a real problem. Replace yours as soon as you spot any of these:
- Flaking or peeling coating: This is the most urgent sign – a compromised non-stick surface can shed particles directly into your food, so stop using it right away.
- Food that won’t release anymore: If a tray that used to be effortless to clean now sticks no matter how much oil or scrubbing you use, the coating has broken down.
- Warping or an uneven fit: A tray that wobbles or doesn’t sit flush disrupts airflow and can rattle noisily during cooking.
- Baked-on discoloration: Light staining is cosmetic and expected, but dark residue that won’t lift after soaking usually means the surface has become permanently porous.
- Rust, especially near the perforations: On stainless trays, any rust is a hard stop – it can flake off into your food.
- Bent or broken slats: Damaged perforations block airflow, leading to soggy spots and uneven cooking.
Six Habits That Extend Tray Life
- Switch to silicone or wooden utensils. Metal tools are the single biggest cause of premature coating damage.
- Cool the tray before washing it. Running a hot tray under cold water can warp metal and shock non-stick coatings.
- Hand wash instead of using the dishwasher. Even dishwasher-safe trays tend to hold up longer with warm water, mild soap, and a soft sponge.
- Skip aerosol cooking sprays. The propellants in many sprays leave a sticky residue that builds up over time; use a light oil brushing or a mister instead.
- Soak before you scrub. A 15-20 minute soak in warm soapy water loosens baked-on grease so you’re not attacking the surface with force.
- Dry and store it flat. Trapped moisture encourages rust on steel trays and can dull non-stick coatings over time.

Choosing a Replacement: Same Model or an Upgrade?
Once you’ve decided to replace the tray, you have two options: reorder the exact tray your air fryer came with, or upgrade to a sturdier material. If your original tray was thin non-stick aluminum that wore out faster than you’d like, moving to stainless steel or ceramic-coated can be a worthwhile investment. A wide range of universal air fryer portion trays are available and often fit multiple basket sizes, so you’re not locked into the original manufacturer.
If you’re due for more than just the tray, it can be more economical to look at a full air fryer accessory kit – many bundles include a replacement tray alongside skewers, cake pans, and silicone liners for less than buying each piece separately. And if your routine involves keeping finished batches warm while later ones cook, adding one of the best warming trays to your setup keeps everything at serving temperature without overcooking the first round.
Mistakes That Shorten a Tray’s Lifespan
- Skipping the manufacturer’s care instructions. Some trays specify hand-wash only or a maximum safe temperature, and ignoring that shortens their lifespan.
- Using harsh cleaning tools. Steel wool, bleach, and abrasive degreasers strip non-stick coatings and dull stainless finishes.
- Overloading the tray. Piling food beyond the recommended capacity blocks airflow and stresses the tray structurally.
- Cooking on a damaged tray too long. Continuing to use a flaking or rusted tray risks contaminating food and can hurt the air fryer’s overall cooking performance.
Frequently Asked Questions
Can I cook without a portion tray at all?
Most air fryers need the tray or basket insert in place to operate safely – cooking directly in the base can restrict airflow and, on some models, create a fire risk from pooled oil near the heating element. Check your manual before removing it.
Are minor scratches on the tray dangerous?
Light cosmetic scratches that haven’t broken through the coating are generally fine to keep using. The real concern is flaking or peeling, which signals the coating has failed structurally.
Will any portion tray fit my air fryer?
No – trays vary by basket shape and diameter, so always check dimensions and compatibility before buying a replacement, particularly for universal or third-party options.
Is it okay to run the tray through the dishwasher?
Check the manufacturer’s label first. Many trays are labeled dishwasher-safe, but hand washing generally preserves the coating longer, especially for non-stick surfaces.
Why does food still stick to a brand-new tray?
New non-stick trays often benefit from a light coat of oil before the first few uses to season the surface. Also avoid preheating the tray empty, which can degrade the coating before it’s even broken in.
Final Thoughts
The portion tray is one of the smallest, cheapest parts of your air fryer, but it has an outsized effect on how evenly your food cooks and how safe your meals are day to day. Keep an eye out for flaking, persistent sticking, warping, and rust, and don’t wait for total failure before swapping it out. A little extra care – silicone utensils, gentle washing, and proper drying – will stretch a tray’s lifespan well past average, and when replacement time does come, the trays and accessory kits above make it easy to pick a durable option built for how you actually cook.