
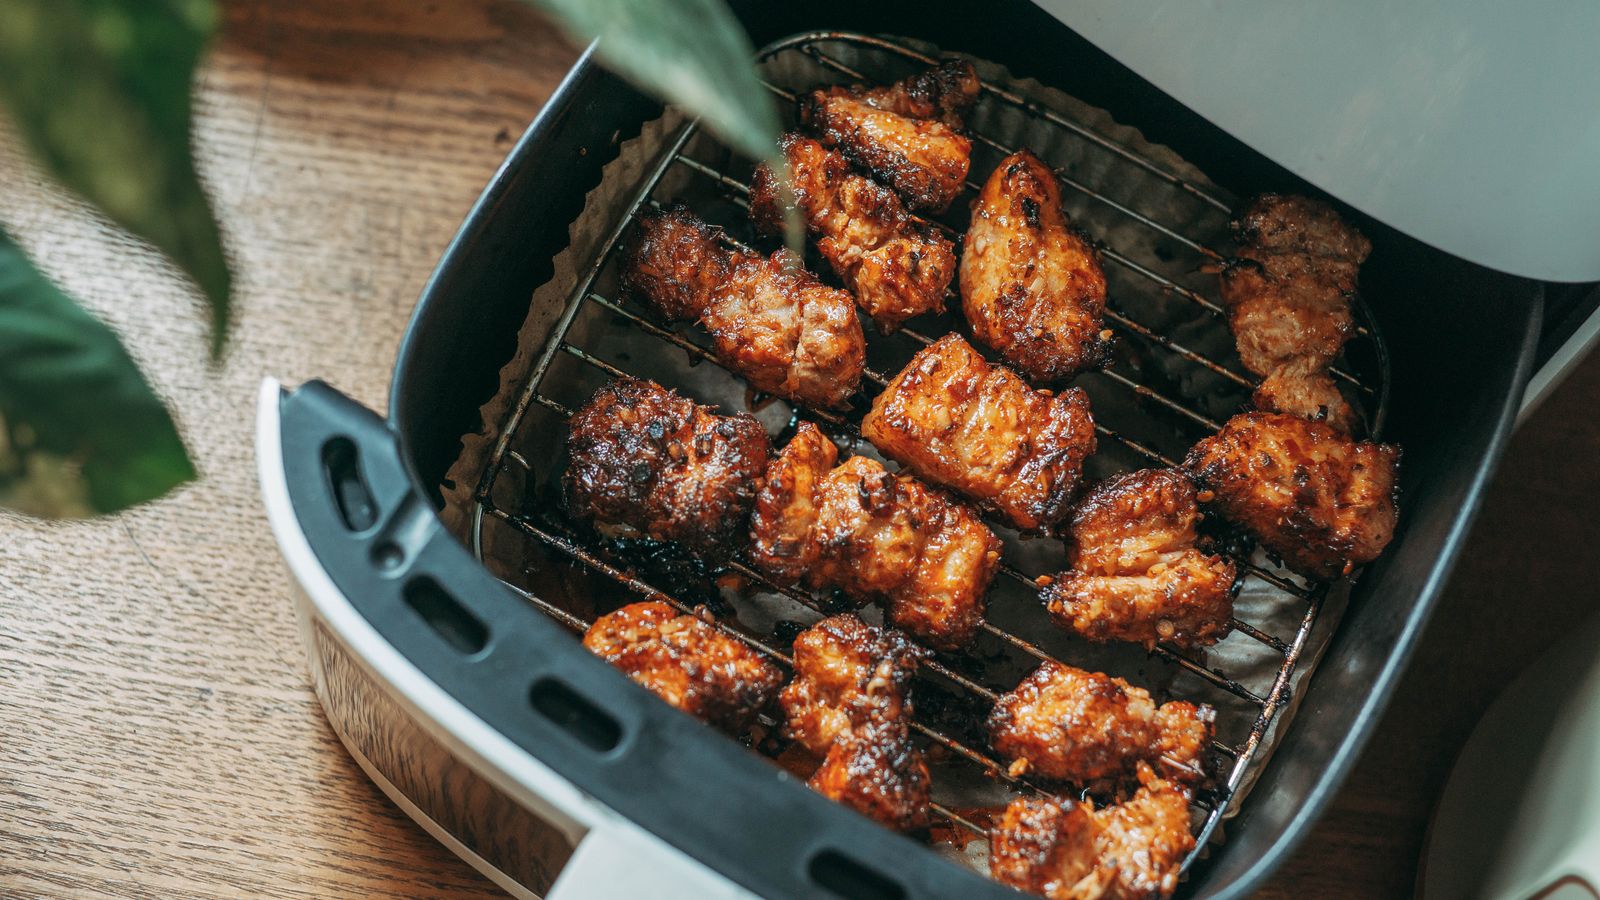
Crispy, evenly browned chicken wings depend on more than a good marinade – they depend on a clean rack. Grease, charred sugar, and baked-on sauce build up fast on air fryer racks, and once that residue hardens it starts smoking, tainting flavor, and blocking the airflow that makes air frying work in the first place. A few minutes of proper care after every wing night keeps your rack performing like new and keeps your kitchen free of burnt-sugar smoke alarms.
This guide walks through exactly how to clean and maintain your air fryer racks for wings, from the tools you need to the step-by-step process, plus the habits that extend the life of your rack for years of repeat wing sessions.
Why Cleaning Your Air Fryer Rack Actually Matters
Chicken wings are one of the messiest foods you can put in an air fryer. Skin renders fat, sauces caramelize, and dry rubs turn into a sticky glaze that clings to every wire of the rack. Left uncleaned, that buildup does more than look bad:
- Smoke and off flavors: Old grease burns at high heat and leaves a bitter, smoky taste on your next batch.
- Blocked airflow: Caked-on residue fills the gaps between wires, so hot air can’t circulate evenly around the wings, leading to soggy spots.
- Bacteria growth: Any rack left with raw-chicken residue and moisture is a breeding ground for bacteria if it sits between uses.
- Shortened rack lifespan: Non-stick and coated racks degrade faster when grease is allowed to bake on layer after layer, since it takes more scrubbing (and coating damage) to remove later.
Cleaning right after use – while residue is still soft – is always easier than scrubbing a rack that has sat overnight. If your current rack is already warped, discolored, or losing its coating, it may be time to browse air fryer racks for wings built specifically to handle sticky sauces and frequent washing.
What You’ll Need Before You Start
Gather these basics so you’re not scrambling mid-clean:
- Warm water and mild dish soap
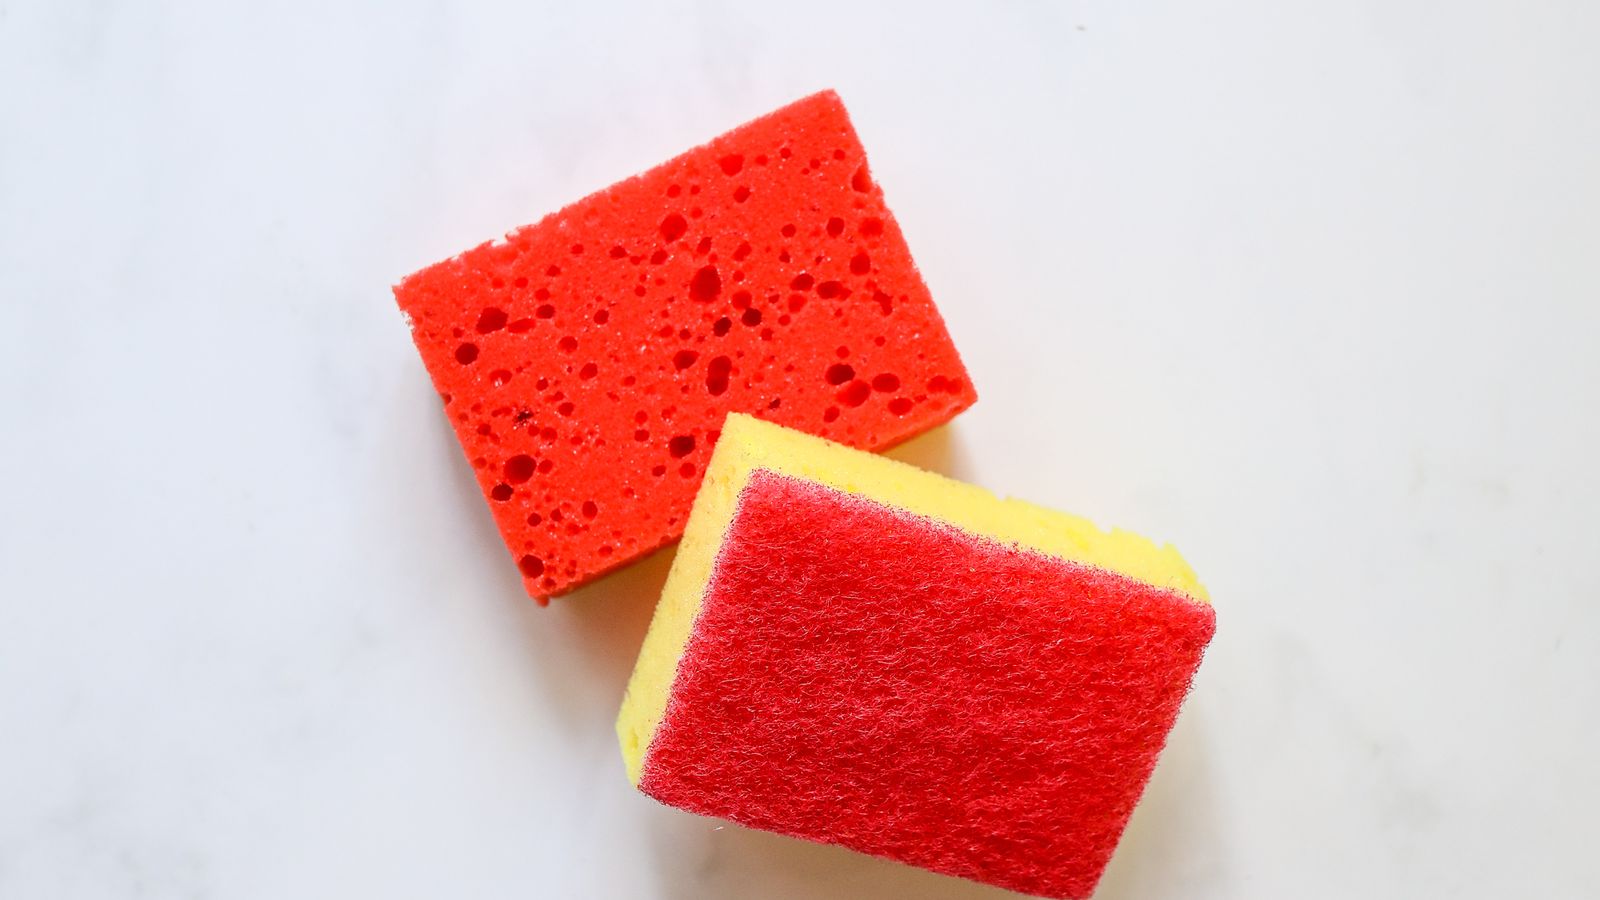
- A soft-bristle brush or non-abrasive sponge
- A plastic or silicone scraper (never metal utensils on coated racks)
- Baking soda, for soaking off stubborn baked-on sauce
- A microfiber towel or drying rack
- Optional: an old, soft toothbrush for tight wire corners
Avoid steel wool, abrasive scouring pads, and harsh oven-cleaner sprays on non-stick or ceramic-coated racks – they strip the coating and create rough patches where food sticks even more next time.
Check If It’s Dishwasher-Safe First
Many stainless steel wing racks are dishwasher-safe, but non-stick and coated racks often are not, since dishwasher detergent and heat can break down the coating over time. Check your rack’s manual or the manufacturer’s listing before assuming – running a coated rack through the dishwasher repeatedly is one of the fastest ways to shorten its life.
Step-by-Step: How to Clean Your Air Fryer Rack
- Let it cool, then act quickly. Wait until the rack is safe to touch, but don’t let it sit for hours. Grease hardens as it cools, so cleaning within 20-30 minutes of cooking makes the job dramatically easier.
- Scrape off loose debris. Use a plastic or silicone scraper to knock off any charred skin, bone fragments, or dried sauce clinging to the wires before you add water.
- Soak in warm, soapy water. Submerge the rack in a sink or basin of warm water with a few drops of dish soap for 10-15 minutes. This loosens baked-on grease without any scrubbing.
- Tackle stubborn spots with baking soda. For sauce that won’t budge, make a paste of baking soda and water, spread it over the residue, and let it sit for 10 minutes before scrubbing.
- Scrub gently with a soft brush or sponge. Work in the direction of the wires, focusing on joints and corners where grease pools. Rinse periodically to check your progress.
- Rinse thoroughly. Soap residue left on the rack can smoke or affect flavor the next time you cook, so rinse under warm running water until the surface feels completely clean.
- Dry completely before storing. Pat the rack dry with a microfiber towel, then let it air-dry fully. Storing a damp rack invites rust on stainless steel and mildew odors on any residual grease.
Deep Cleaning for Heavy Buildup
If your rack has gone a few sessions without a proper clean, or you inherited a heavily stained one, a deeper soak is worth the extra time:
- Fill a basin with hot water, a squirt of dish soap, and two tablespoons of baking soda.
- Submerge the rack completely and let it soak for 30-45 minutes.
- For stainless steel racks only, a diluted white vinegar soak (equal parts water and vinegar) for 15 minutes can help dissolve mineral deposits and discoloration.
- Scrub with a soft brush, rinse well, and dry as usual.
Avoid vinegar soaks on non-stick or ceramic-coated racks, since the acidity can wear down certain coatings over repeated use.
Everyday Care Tips to Extend Your Rack’s Life
- Lightly oil the rack before cooking. A thin wipe of neutral oil on the wires reduces how much sauce and skin stick in the first place, making cleanup faster.
- Line the basket, not the rack, when possible. If you’re cooking especially saucy wings, consider parchment liners in the basket below to catch drips, keeping the rack itself cleaner.
- Wipe down after every use, even quick ones. A 30-second rinse after each cook prevents the kind of heavy buildup that requires deep cleaning later.
- Store it dry and separated. Stack racks with a paper towel or cloth between them if storing multiple pieces, to prevent scratches on coated surfaces.
- Inspect the coating periodically. Flaking, peeling, or exposed metal on a non-stick rack means it’s time to retire it – continuing to cook on a damaged coating isn’t food-safe.
If you’re pairing your wing routine with other accessories, silicone liners can also simplify cleanup for smaller batches or baked goods. Check out these air fryer silicone cupcake liners if you rotate your air fryer between savory and sweet cooking. And if you like to skewer wings or mix in kebabs for variety, a quality set of air fryer skewers can make cleanup even easier since less sauce drips directly onto the rack.
Common Mistakes to Avoid
- Using metal scouring pads. These scratch coated finishes and create grooves where grease hides permanently.
- Letting grease sit for days. The longer buildup bakes on, the more force (and coating damage) it takes to remove.
- Skipping the dry step. Moisture trapped between wires leads to rust spots on stainless steel and musty smells over time.
- Assuming every rack is dishwasher-safe. Always verify with the manufacturer before running a coated rack through a dishwasher cycle.
- Using high heat to “burn off” residue. Running the air fryer empty at max temperature to burn off grease can warp thin racks and produce heavy smoke – stick to hand cleaning instead.
Frequently Asked Questions
Can I put my air fryer rack in the dishwasher?
Stainless steel racks are often dishwasher-safe, but always confirm with the manufacturer first. Non-stick or ceramic-coated racks are usually better hand-washed to protect the coating from dishwasher heat and detergent.
How often should I clean my air fryer rack?
Ideally after every use, even if it’s just a quick rinse. A more thorough soak-and-scrub session once a week (or after any particularly saucy cook) keeps buildup from becoming a bigger job.
Why does my rack still smoke even after cleaning?
Residue trapped in tight corners or under the rack’s feet is a common culprit. Try a baking soda soak focused on those hard-to-reach spots, and make sure the rack is fully dry before its next use, since trapped moisture can also cause light smoking.
What’s the best way to remove burnt sauce from wire racks?
A baking soda paste left to sit for 10-15 minutes, followed by gentle scrubbing with a soft brush, works well on most burnt-on sauce without damaging the rack’s finish.
When should I replace my air fryer rack instead of cleaning it?
If you notice peeling non-stick coating, rust that won’t scrub off, or visible warping that keeps the rack from sitting flat in the basket, it’s time to replace it rather than keep cleaning around the damage.
A little consistency goes a long way. Clean your rack right after cooking, dry it fully, and give it an occasional deep soak, and it will keep producing crispy, evenly cooked wings without the smoke, stuck-on mess, or premature wear that comes from letting grease build up over time.