
An air fryer earns its keep fast, but the gear that surrounds it – splatter screens, steamer baskets, tongs, oil sprayers, serving trays – has a way of taking over a kitchen. If you find yourself digging through three drawers just to find a lid or a screen every time you fry, it is not a cooking problem, it is an organization problem. A well-organized prep and serving kit means you can go from “I want fries” to actually cooking in under a minute, with every tool clean, dry, and exactly where you left it.
This guide walks through a simple, repeatable system for organizing your air fryer prep and serving kit, using two of the most useful tools in that kit – a good splatter screen and a dedicated cabinet organizer – as anchors for the whole setup. By the end, you will have a clear plan for where everything lives, how to keep it that way, and which accessories are worth adding to make air frying faster and less messy.
Why Organizing Your Air Fryer Kit Matters
Air frying is supposed to be the fast, low-effort way to cook. That convenience disappears the moment you have to hunt for a basket liner or wipe grease off three unrelated pans because your splatter screen was buried under baking sheets. A dedicated, organized kit solves several real problems at once.
- Speed: Everything you need for a cooking session is grouped together, so prep starts immediately instead of after a five-minute cabinet search.
- Cleanliness: Tools stored properly stay dry and grease-free, which extends their life and keeps your cabinets from smelling like old oil.
- Safety: A splatter screen that is easy to grab gets used more often, which means fewer oil burns and less grease spatter on your stovetop and counters.
- Less clutter, less stress: A dedicated zone for air fryer gear keeps it from spreading into your general cookware drawers, which keeps the whole kitchen easier to manage.
The goal is not a Pinterest-perfect cabinet. It is a system that takes you fifteen minutes to set up once and then saves you time every single day after.
Step 1: Take Inventory of Your Prep and Serving Kit
Before you buy or rearrange anything, lay out everything you currently use for air frying. This typically includes:
- The air fryer basket, any extra baskets, and liners
- A splatter screen or splatter guard for stovetop prep work
- Tongs, silicone-tipped spatulas, and a basting or oil brush
- An oil sprayer or mister
- Steamer inserts or racks, if you use your air fryer for steaming vegetables or reheating
- Serving trays, small bowls for sauces, and paper towels or liners
- Cleaning tools specific to the fryer basket, like a soft brush
Separate this pile into three categories: items you use every time you air fry, items you use occasionally, and items you rarely touch. This sorting step is the single most important part of the process, because it tells you what deserves prime real estate near the air fryer and what can live further away.
Step 2: Choose a Dedicated Zone Near the Air Fryer
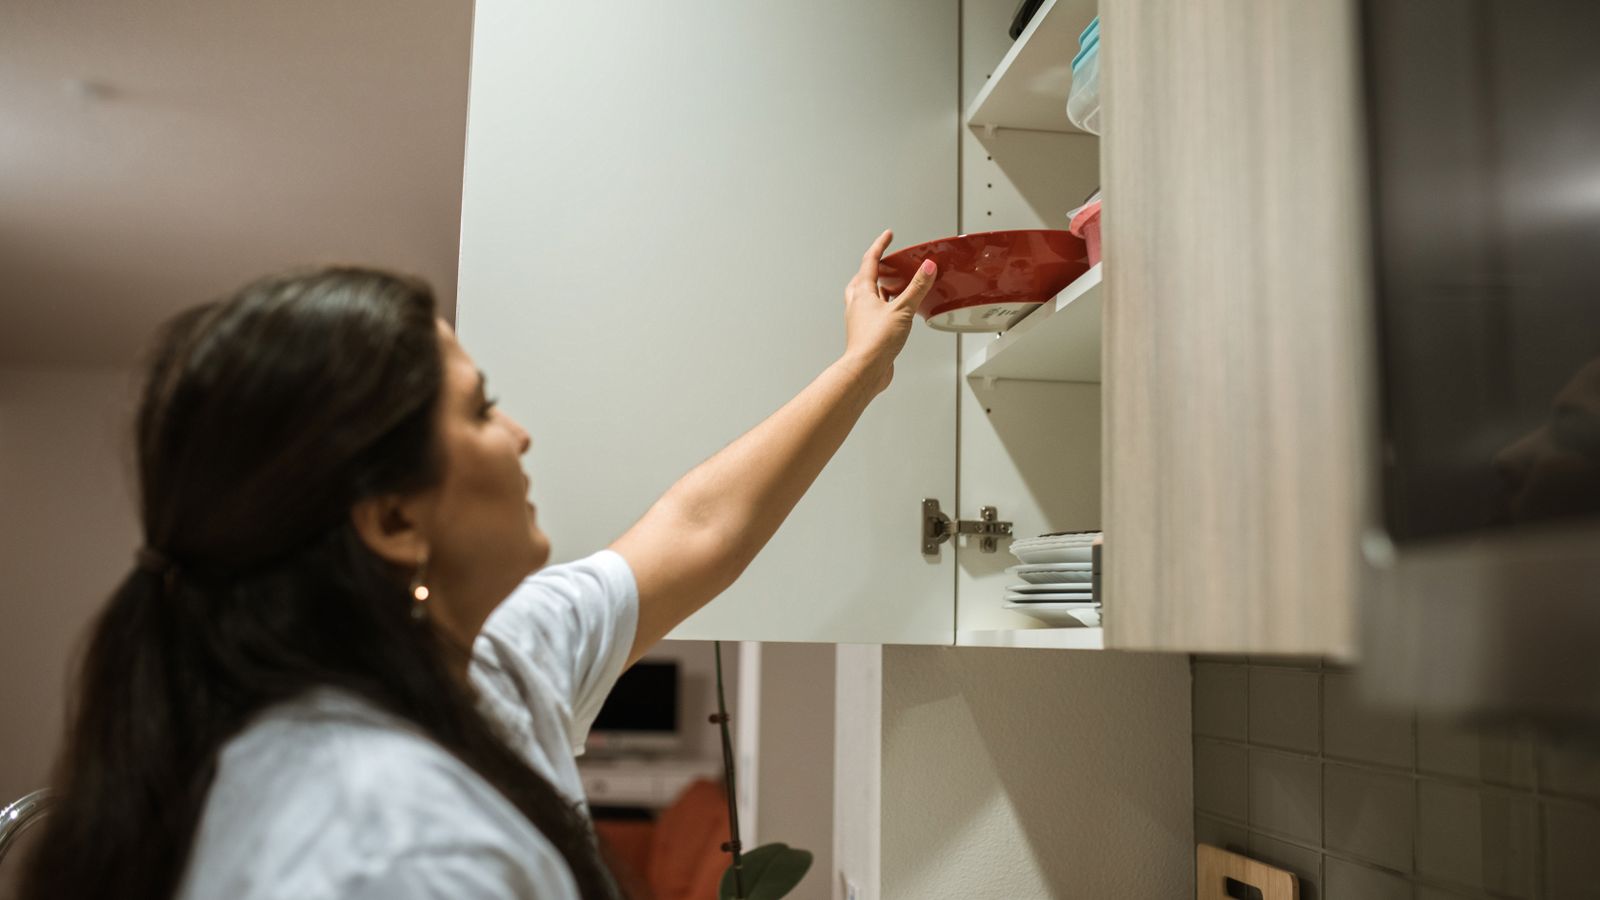
Muscle memory matters. If your air fryer lives on the counter near a specific cabinet, that cabinet – or at least one shelf or drawer inside it – should become the official home for your prep and serving kit. Ideally this zone is within arm’s reach of where you actually cook, not on the opposite side of the kitchen.
This is where an air fryer cabinet organizer earns its space. A dedicated organizer keeps baskets, screens, and small tools contained in one pull-out or stackable unit instead of loose in a drawer, which means the zone stays organized even after weeks of daily use. Look for an organizer sized to fit your cabinet depth and tall enough to stand a splatter screen upright rather than laying it flat on top of everything else.
Step 3: Store the Splatter Screen Where You’ll Actually Use It
A splatter screen protects your stovetop and counters from grease while you’re prepping ingredients before or after air frying – think searing a quick sauce, reheating a pan, or finishing a dish. The problem is that most splatter screens are flat, round, and awkward to store, so they end up wedged behind pots or standing loose against a cabinet wall where they slide around and get greasy on both sides.
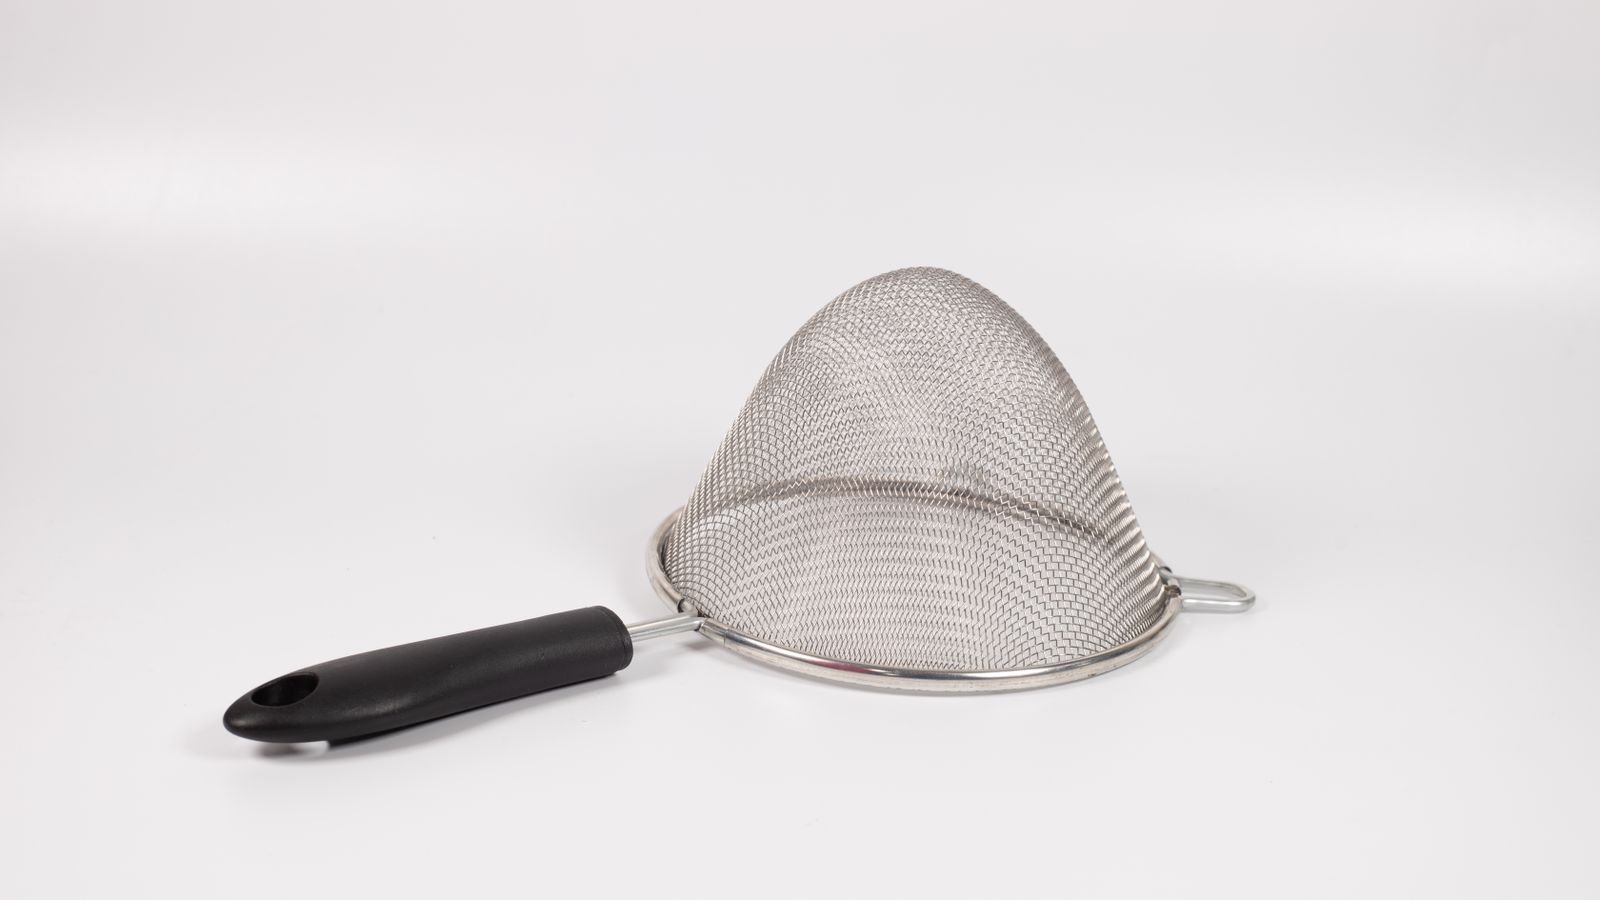
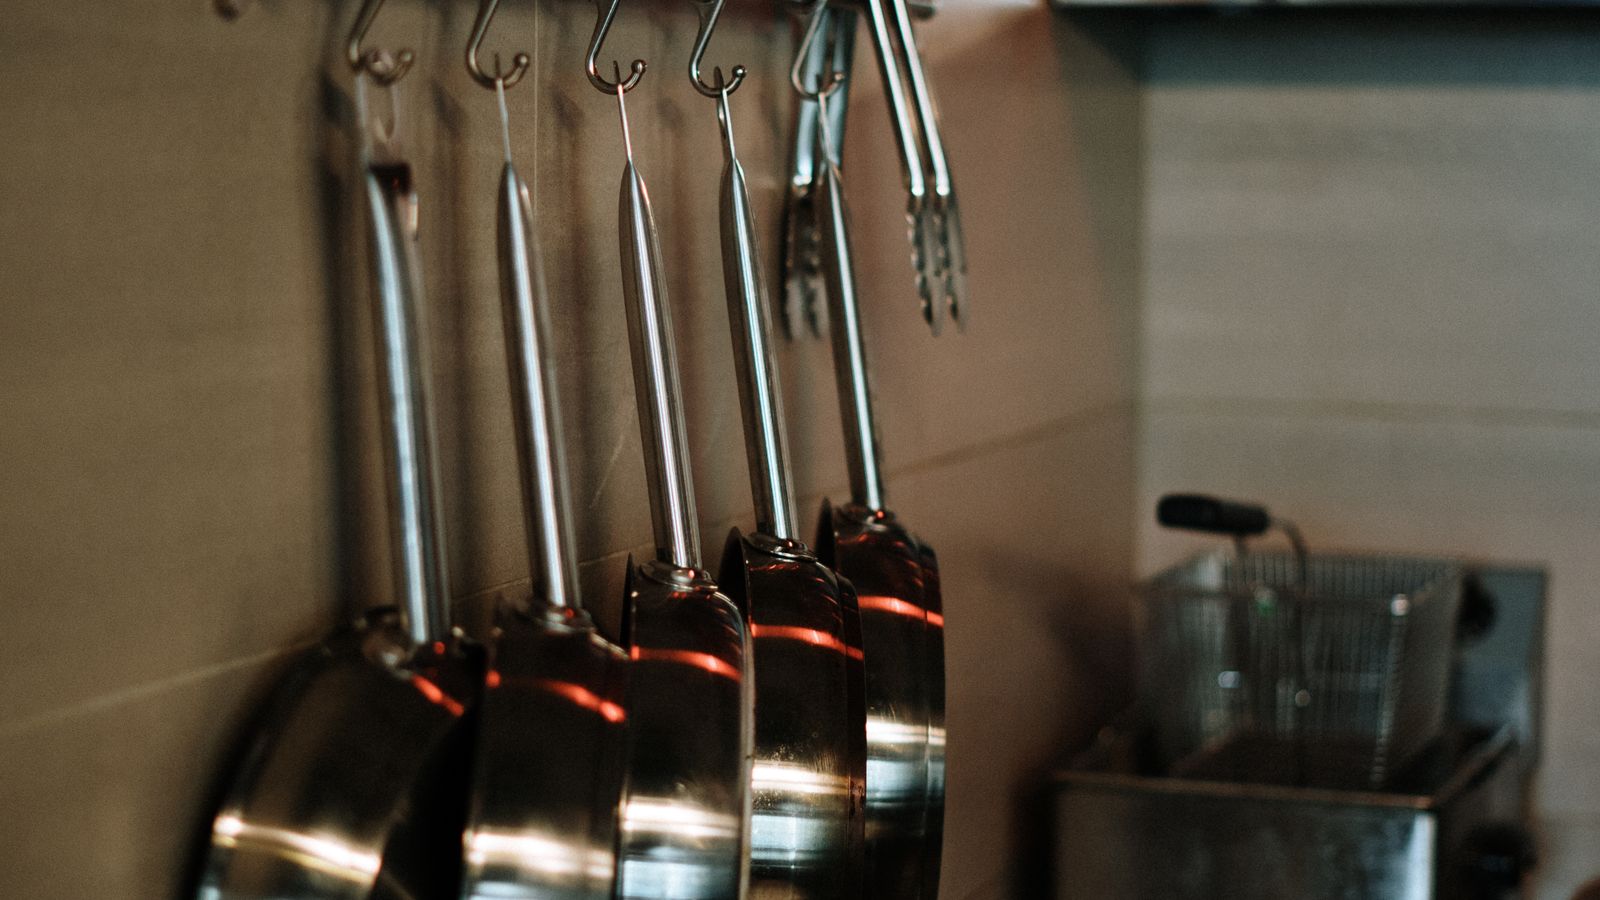
The fix is vertical storage. A slim vertical slot in your cabinet organizer, a tension rod mounted inside a cabinet door, or a simple wall-mounted hook near the stove all keep the screen upright, easy to grab, and away from direct contact with other cookware. If you’re shopping for a new one, browse the air fryer splatter screens roundup for options sized to fit common cabinet organizers and stovetop pans, so storage and function work together instead of against each other.
Step 4: Group Steamer Inserts and Add-On Accessories Together
If you use your air fryer for more than frying – many people steam vegetables, reheat leftovers, or cook delicate proteins with a steamer insert – keep those attachments in their own labeled section of the organizer rather than mixing them in with baskets and liners. Steamer inserts are often a slightly different shape and material than standard baskets, so they can get dented or scratched if tossed in loosely with heavier gear.
A small divided bin or a second shelf works well here. If you don’t yet have a steamer insert but want to expand what your air fryer can do, the air fryer steamer inserts guide covers models that stack neatly with most basket sizes, which also makes them easier to store side by side in an organizer.
Suggested Zone Layout
- Top shelf or front slot: Daily-use items – main basket, splatter screen, tongs, oil sprayer.
- Middle section: Steamer inserts, extra baskets, liners.
- Back or bottom: Occasional-use items – serving trays, extra parchment liners, specialty attachments.
- Small caddy or drawer tray: Loose small items like the basket brush, oven mitts, and sauce bowls.
Step 5: Set Up a Simple Serving Station
Organizing shouldn’t stop once the food comes out of the basket. A quick serving station – a small tray, a couple of ramekins for dipping sauces, and a resting rack – keeps hot food off the counter and makes it easy to plate straight from the fryer. Store these serving pieces in the same zone or the cabinet directly above it, so the entire process from prep to plate stays within a few steps.
Step 6: Build a Quick Clean-and-Return Habit
An organized kit only stays organized if items go back to the same spot after each use. Build this into your routine:
- Wipe down the splatter screen and basket immediately after cooking, while residue is still easy to remove.
- Let everything air-dry fully before returning it to the organizer – moisture trapped in a closed cabinet leads to odor and rust on metal tools.
- Return each item to its designated slot, not just “somewhere in the cabinet.”
- Do a two-minute reset once a week: check for anything out of place, wipe shelves, and confirm nothing needs replacing.
Common Organization Mistakes to Avoid
- Storing wet tools: Sealing a damp splatter screen or basket inside a cabinet organizer traps moisture and invites mildew and rust.
- Overpacking one shelf: Cramming every accessory into a single slot defeats the purpose – spread items across the tiers of your organizer based on how often you use them.
- Mixing categories: Tossing serving trays in with raw-prep tools like tongs used on uncooked food can create cross-contamination habits. Keep prep and serving items visually separated, even if they share a cabinet.
- Ignoring cabinet depth: An organizer that’s too deep for your cabinet forces you to reach past other items, which usually means things get knocked over or left out instead.
- No labels for shared kitchens: If more than one person cooks in your kitchen, a simple label on each shelf keeps the system intact instead of drifting back into chaos within a week.
FAQ
How much space do I actually need for an air fryer kit?
Most kits fit comfortably in a single cabinet shelf around 12-16 inches wide, especially with a stackable or tiered organizer. If you use multiple baskets, steamer inserts, and serving pieces, plan for closer to a half-cabinet.
Can I store the splatter screen flat instead of upright?
You can, but flat storage tends to trap grease against whatever surface it’s resting on and makes the screen harder to grab quickly. Vertical storage keeps both sides exposed to air and is easier to reach one-handed.
Should steamer inserts be stored with or separate from the main basket?
Separate is better if you have the space. Steamer inserts often have finer mesh or different coatings than the main basket, and separating them reduces scratching and makes it easier to grab the right accessory for the job.
How often should I reorganize the kit?
A full reset once a season is usually enough for most households. If you notice tools drifting out of place weekly, it’s a sign the current layout doesn’t match how you actually cook, and a quick adjustment to the zone layout will fix it faster than repeated tidying.
What’s the fastest way to start if I have zero organization right now?
Start with Step 1 (inventory) and Step 2 (pick one dedicated cabinet zone). Even without buying anything new, simply grouping your existing tools into daily-use versus occasional-use piles inside one cabinet will make a noticeable difference the very next time you cook.
Final Thoughts
An organized air fryer prep and serving kit is less about buying new gear and more about giving your existing tools a consistent, logical home. Start with a dedicated zone, add a proper cabinet organizer to keep baskets and screens contained, store the splatter screen upright where you’ll actually reach for it, and group steamer inserts and serving pieces by how often you use them. Once the system is in place, the daily habit of returning items to their spot is what keeps it working – and keeps your kitchen counter clear the next time a craving for crispy fries strikes.