
If you use one air fryer basket for everything from crispy chicken wings to roasted broccoli, a quick wipe-down between cooks is not enough. Raw meat drippings, sticky vegetable residue, and baked-on grease build up in the basket, the crisper plate, and the heating element long before your air fryer looks dirty. A proper deep clean protects your food from cross-contamination, keeps your machine running efficiently, and stops smoke and burning smells from ruining your next batch. This step-by-step guide walks you through exactly how to deep clean an air fryer that handles both vegetables and meat, so every meal comes out tasting the way it should.
Why Deep Cleaning Matters When You Cook Both Meat and Vegetables
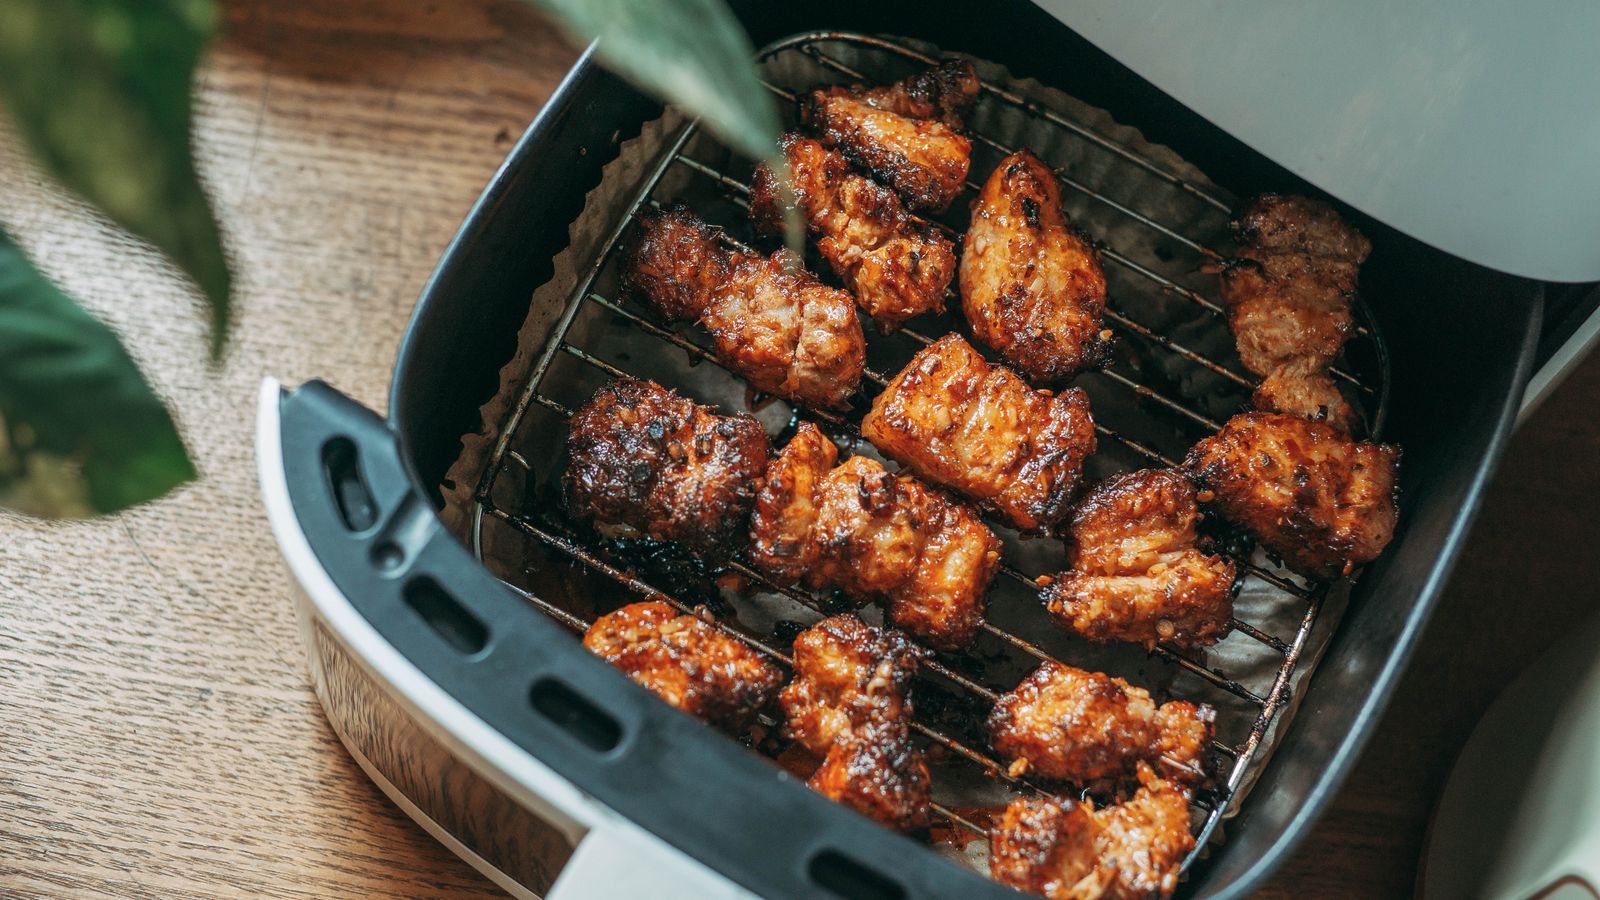
Air fryers that switch between raw poultry, ground beef, and fresh produce carry a higher risk of cross-contamination than single-purpose appliances. Fat and juice from meat can splatter onto the crisper plate, the walls of the cooking chamber, and even the heating coil above the basket. If that residue is not fully removed, it can transfer bacteria to the next batch of vegetables you air fry, even if you rinse the basket quickly under the tap.
Beyond food safety, grease buildup is also a performance issue. A layer of baked-on oil on the heating element reduces airflow and can cause smoking, uneven cooking, and a burnt smell that clings to lighter foods like green beans or sliced potatoes. Over time, neglected grease can also become a fire hazard, since air fryers rely on rapid, high-heat air circulation around a small enclosed space. Deep cleaning on a regular schedule – not just when the basket looks visibly dirty – is the simplest way to keep both your food and your kitchen safe.
Tools and Materials You Will Need
Before you start, gather everything so you are not scrambling mid-clean with greasy hands. Most of what you need is already in your kitchen.
- Warm water and mild dish soap
- A soft sponge or non-abrasive scrub brush (avoid steel wool, which scratches non-stick coatings)
- An old, soft toothbrush for tight corners and vents
- Baking soda for stubborn baked-on grease
- White vinegar for cutting grease and neutralizing odors
- Microfiber cloths or paper towels
- A few cotton swabs for the heating element and small crevices
If you frequently cook fattier cuts of meat, a dedicated set of air fryer accessories – silicone liners, parchment sheets, or a divider tray – can significantly cut down on how often you need to do a full deep clean. Investing in the right unit from the start also makes cleanup easier; models featured in our roundup of air fryers for vegetables and meat are generally chosen for dishwasher-safe parts and simple basket designs.
Step-by-Step Deep Cleaning Process
Step 1: Unplug and Let It Cool Completely
Always unplug your air fryer and let it cool for at least 30 minutes before cleaning. Residual heat can cause burns, and warm surfaces can also cause cleaning solutions to evaporate before they have a chance to loosen grease.
Step 2: Remove All Removable Parts
Take out the basket, crisper plate, and any trays or dividers. Most of these parts are dishwasher-safe, but hand washing gives you more control and helps them last longer, especially if they have a non-stick coating.
Step 3: Soak in Warm, Soapy Water
Fill your sink with warm water and a few drops of dish soap. Submerge the basket and crisper plate for 15 to 20 minutes. This softens baked-on food particles, especially meat fat and sticky marinade residue, so they lift away instead of requiring heavy scrubbing that can damage the coating.
Step 4: Scrub Away Grease and Residue
Use a soft sponge or non-abrasive brush to scrub both sides of the basket and crisper plate. For stubborn spots, especially around the mesh holes where meat fat tends to collect, make a paste of baking soda and water, apply it directly, and let it sit for 10 minutes before scrubbing again.
Step 5: Clean the Interior Cooking Chamber
Wipe down the inside of the main unit with a damp cloth and a small amount of soapy water. Never submerge the main unit in water, since it houses the heating element and electrical components. For grease splatter near the top of the chamber, dampen a cloth with a vinegar-water solution (equal parts) to cut through oily residue without leaving a soapy taste behind.
Step 6: Detail the Heating Element
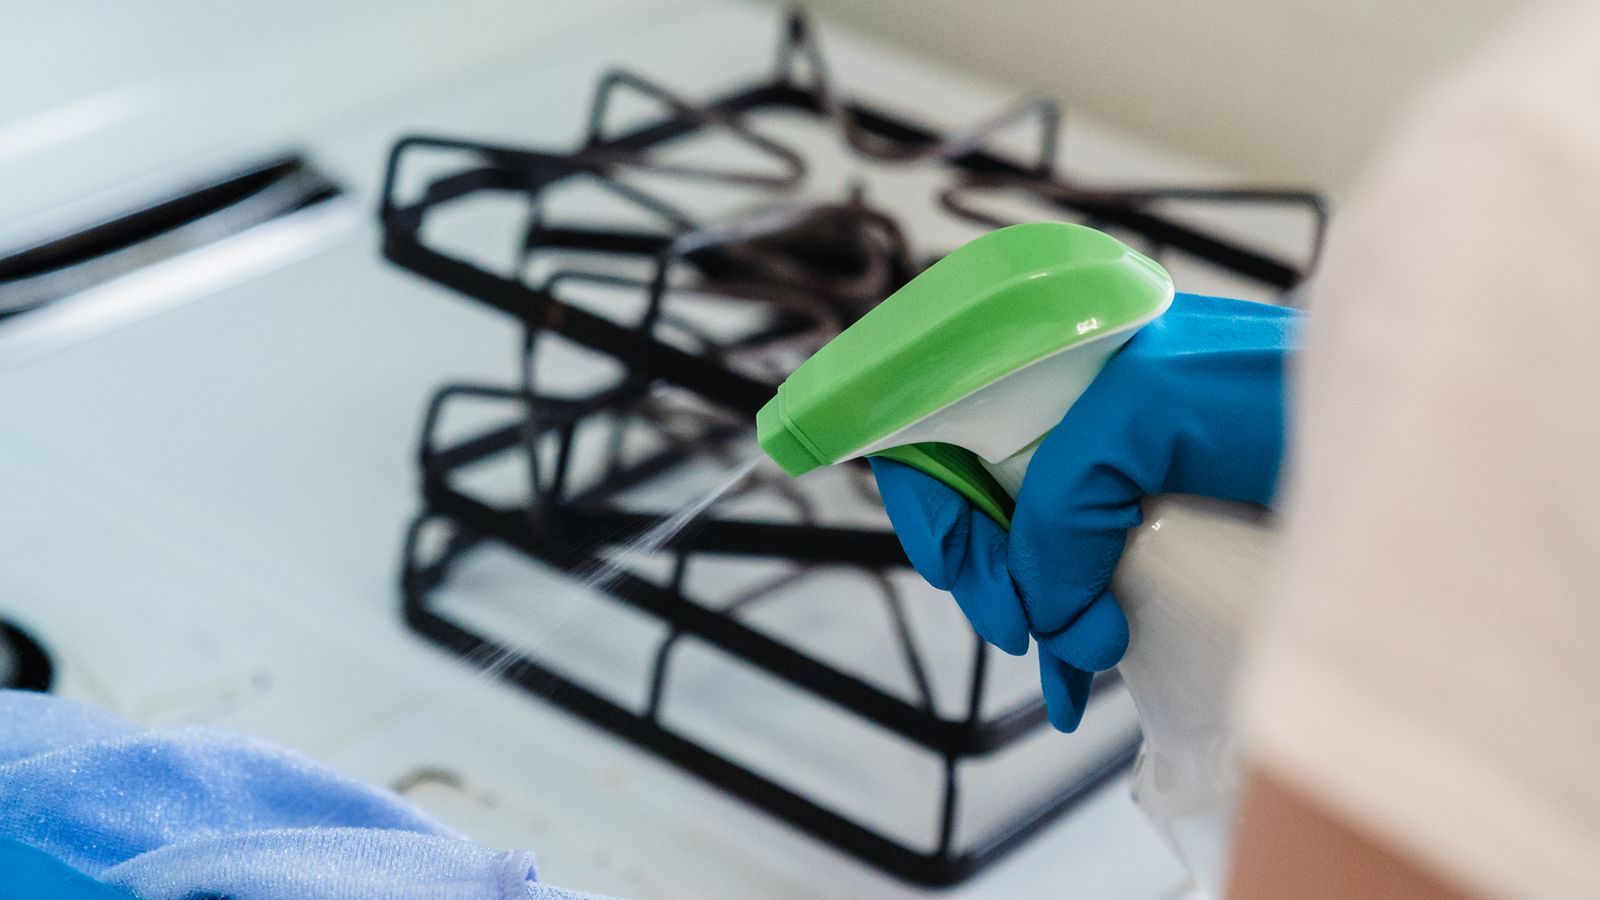
The heating coil above the basket is where grease from meat cooking builds up fastest, and it is often the most overlooked spot. Once the unit has cooled completely and is unplugged, use a soft brush or a cotton swab dipped in a vinegar-water solution to gently remove residue. Never spray liquid directly onto the element; always apply cleaning solution to your cloth or swab first.
Step 7: Clean the Exterior and Control Panel
Wipe down the outside housing and digital display with a slightly damp microfiber cloth. Avoid abrasive cleaners on the control panel, which can scratch the display or wear away button labels over time.
Step 8: Dry Thoroughly Before Reassembling
Let all parts air dry completely, or dry them by hand with a clean towel. Reassembling a damp basket traps moisture inside the unit and can lead to mildew smells or rust on metal components, especially around the mesh basket.
Step 9: Run a Short Empty Cycle
Once everything is dry and reassembled, run the air fryer empty at a moderate temperature for 3 to 5 minutes. This burns off any leftover cleaning residue and confirms the unit is heating evenly before you cook your next meal.
Maintenance Tips to Reduce Future Buildup
- Wipe the basket and crisper plate after every use, even a quick rinse prevents residue from hardening.
- Use parchment liners or light oil sprays when cooking fattier meats to reduce direct grease contact with the basket.
- Deep clean at least once every one to two weeks if you alternate frequently between meat and vegetables.
- Check and clean the exhaust vent on the back or side of the unit monthly, since grease vapor can settle there too.
- Store the basket and crisper plate separately if condensation tends to collect between them.
If you cook wings or other high-fat proteins often, pairing your cleaning routine with a unit built for that kind of cooking makes a real difference. Our guide to the best air fryers for crispy wings highlights models with better grease drainage and easier-to-clean baskets, which cuts down on how much scrubbing you need to do after every batch.
Common Mistakes to Avoid
- Using metal scouring pads: These scratch non-stick coatings, which then flake and shed into your food over time.
- Submerging the main unit in water: This can permanently damage the heating element and electrical components.
- Skipping the heating element: Grease buildup here is a common cause of smoking and burnt smells, even when the basket looks spotless.
- Reassembling while still damp: This traps moisture and can lead to mildew odors or rust spots.
- Waiting too long between deep cleans: Baked-on grease from repeated meat cooking becomes exponentially harder to remove the longer it sits.
Cross-contamination risk also rises if you use the same basket for raw meat and something like reheated bread or pastries without cleaning in between. If toasting is part of your regular routine, it is worth checking whether a dedicated appliance from our list of air fryers for toasting bread makes more sense for keeping food categories separate in your kitchen.
Frequently Asked Questions
How often should I deep clean my air fryer if I cook meat and vegetables regularly?
For households that alternate between meat and vegetables several times a week, a deep clean every one to two weeks is a good baseline. If you notice smoke, lingering odors, or visible grease buildup sooner, clean it right away rather than waiting for your regular schedule.
Can I put the basket and crisper plate in the dishwasher?
Many modern air fryer baskets and crisper plates are dishwasher-safe, but always check your specific model’s manual first. Hand washing is gentler on non-stick coatings and tends to extend their lifespan, even if the manufacturer allows dishwasher use.
Is it safe to use vinegar to clean an air fryer?
Yes, a diluted vinegar-and-water solution is safe and effective for cutting grease and neutralizing odors, as long as you apply it with a cloth or swab rather than spraying it directly into the unit, especially near the heating element.
Why does my air fryer smell like smoke even after cleaning the basket?
Lingering smoke smells almost always trace back to grease on the heating element or splatter inside the upper cooking chamber that was missed during a basic wipe-down. Follow the detailed steps above to target those specific areas.
Do I need separate baskets for meat and vegetables?
It is not strictly necessary if you clean thoroughly between uses, but keeping a dedicated crisper insert or liner for raw meat can add an extra layer of food safety and reduce how often you need a full deep clean.
Final Thoughts
Deep cleaning your air fryer is not just about appearance, it is about protecting your food from cross-contamination, keeping your machine running efficiently, and avoiding the smoke and burnt smells that come from neglected grease. By following this step-by-step process regularly and paying close attention to easy-to-miss spots like the heating element and exhaust vent, you will get better, safer results whether you are roasting vegetables or crisping up meat. A few consistent minutes of maintenance after every few cooks will save you a much bigger cleaning job down the line.