
An air fryer multicooker packs several appliances into one countertop unit — air frying, pressure cooking, slow cooking, steaming, and sometimes even baking or dehydrating. That versatility is exactly why it needs more attention than a single-function air fryer. Grease and food splatter don’t just land in the basket; they work their way into gasket seals, the pressure-release valve, the inner pot rim, and the underside of the lid. Skip a deep clean for a few months and you’ll start noticing lingering odors, smoke during air-fry mode, or a lid that won’t seal properly for pressure cooking.
This guide walks through a full deep-clean routine for an air fryer multicooker, covering every removable part, the parts you usually forget, and the habits that keep the unit running like new.
Why Multicookers Need More Than a Quick Wipe-Down
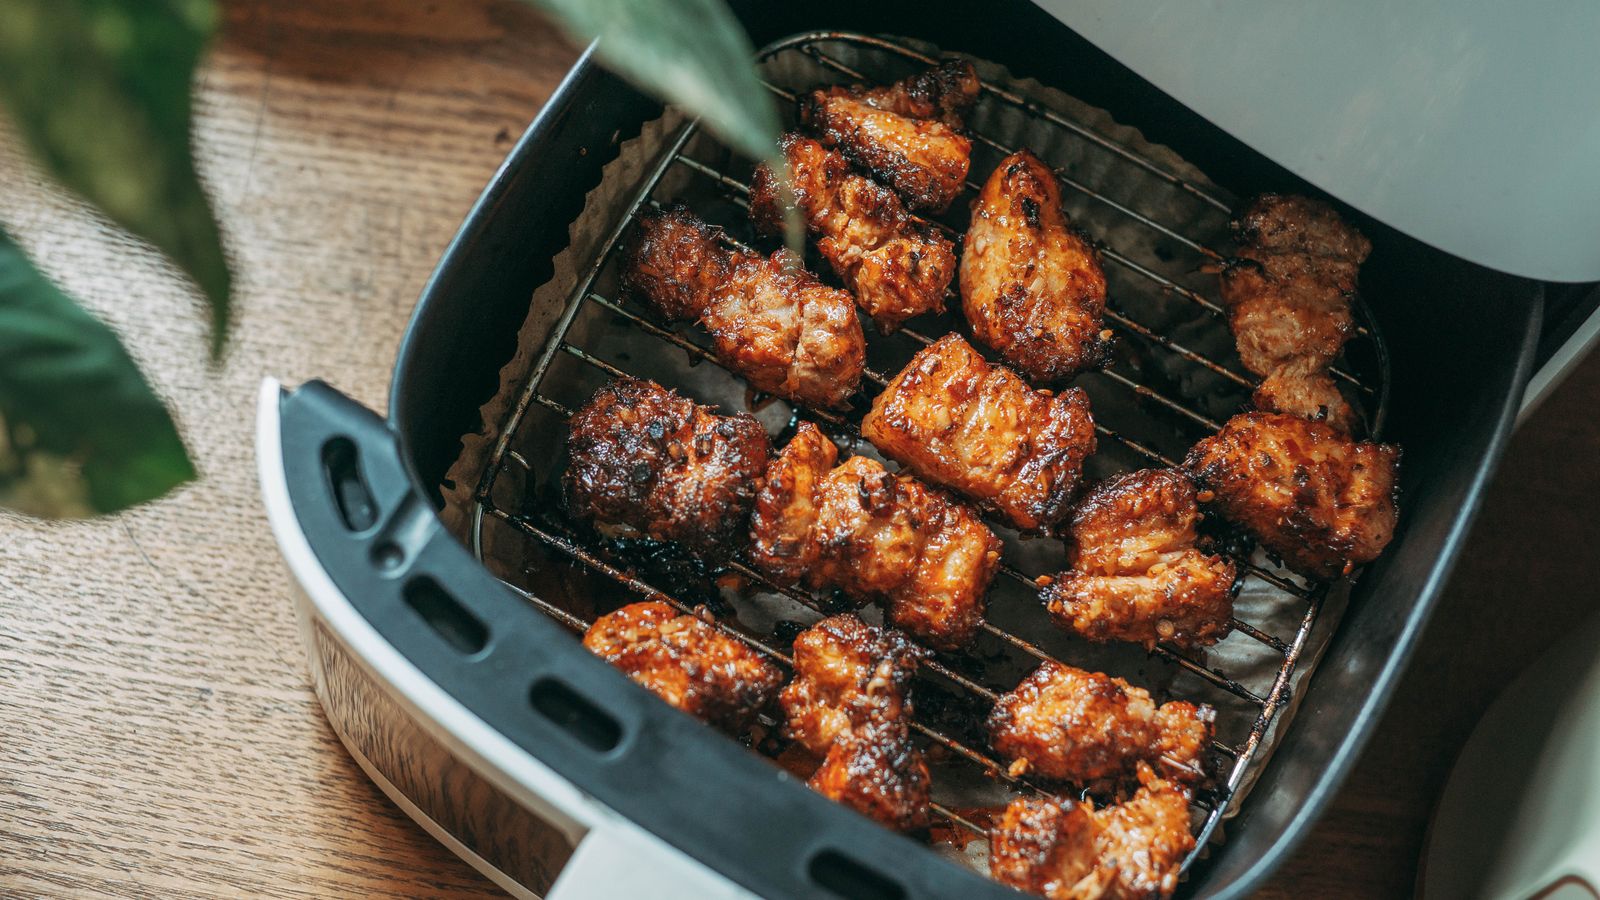
A standard air fryer basket is a simple shape with one job. A multicooker adds a sealing ring, a float valve, a condensation collector, a steam release, and often a removable inner pot with a non-stick or stainless coating. Each of those parts traps grease, moisture, or food particles differently:
- The silicone sealing ring absorbs odors from strong-smelling meals and can harbor bacteria if left damp.
- The float valve and anti-block shield collect starchy residue that can prevent proper pressure sealing.
- The condensation collector fills with greasy liquid that turns rancid if it sits too long.
- The heating element and fan housing (used in air-fry mode) accumulate baked-on oil that can smoke on the next use.
Wiping only the basket and pot leaves all of these areas dirty, which is why a scheduled deep clean matters far more for a multicooker than for a basic single-function unit.
Tools and Materials You’ll Need
Gather everything before you start so the process goes smoothly:
- Warm water and mild dish soap
- A soft sponge or non-abrasive scrub pad
- A small soft-bristle brush (an old toothbrush works well) for tight seams and valves
- Microfiber cloths
- Baking soda for baked-on grease
- White vinegar for odor removal and descaling
- Cotton swabs for the steam valve and sensor probe
- A soft-bristle brush or vacuum attachment for the vent area
Avoid steel wool, abrasive powders, and harsh degreasers — they scratch non-stick coatings and can degrade the sealing ring over time.
Step-by-Step Deep Cleaning Process
Step 1: Unplug and Let It Cool
Always start with the unit unplugged and fully cooled. Cleaning a warm heating element or handling a hot sealing ring is both a burn risk and a good way to warp plastic components.
Step 2: Remove Every Detachable Part
- Take out the inner pot, basket or crisping tray, and any racks or trivets.
- Remove the sealing ring from the lid by gently pulling it free from its groove.
- Detach the condensation collector cup from the back or side of the unit.
- If your model allows it, remove the float valve cover and anti-block shield for individual cleaning.
Laying everything out on a towel before you start makes it easier to track which parts you’ve already cleaned and reduces the chance of skipping one.
Step 3: Hand-Wash the Removable Components
- Wash the inner pot, basket, and trays in warm soapy water. For baked-on residue, sprinkle baking soda directly on the stain, add a little water to form a paste, and let it sit for 10–15 minutes before scrubbing.
- Wash the sealing ring separately with soap and warm water, then smell it — if odor lingers, soak it in a mix of water and white vinegar for 20 minutes before rinsing.
- Empty and rinse the condensation collector, then wash it the same way as the other parts.
- Use a soft brush or cotton swab to clean the float valve, anti-block shield, and steam release opening, working out any dried food particles.
- Rinse everything thoroughly and dry with a microfiber cloth, or let air-dry on a rack.
Most inner pots and trays are dishwasher-safe, but check your model’s manual first — some non-stick coatings degrade faster with dishwasher heat and detergent.
Step 4: Clean the Main Housing and Heating Element
- Wipe the interior cavity where the pot sits with a damp cloth to remove any spilled liquid or grease.
- For the air-fry heating element (if your multicooker has an air-fry function), use a soft brush to gently loosen baked-on grease, then wipe with a barely damp cloth. Never spray liquid directly onto the element or fan housing.
- Check the underside of the lid for grease buildup around the steam vent and wipe it with a soapy cloth, then dry.
- Wipe the exterior housing, control panel, and handle with a damp microfiber cloth. Avoid soaking the control panel or letting water seep into buttons or the display.
Step 5: Deodorize and Descale
If the unit has picked up cooking odors or hard-water buildup, run a short cleaning cycle: add water and a splash of white vinegar to the inner pot, then run a steam or pressure-cook cycle for a few minutes (check your manual for a dedicated cleaning cycle if the model has one). This loosens residue inside the pot and helps neutralize lingering smells. Discard the liquid, rinse, and dry.
Step 6: Dry Completely Before Reassembly
Make sure every part — especially the sealing ring, float valve, and condensation collector — is completely dry before putting the unit back together. Trapped moisture is the number one cause of mold and mildew smell in multicookers.
Step 7: Reassemble and Do a Final Wipe
Reinsert the sealing ring (checking it sits evenly in its groove), snap the condensation collector back into place, and return the inner pot and basket. Give the exterior one last wipe so the unit looks and feels clean before its next use.
How Often You Should Deep Clean
A quick rinse of the pot and basket after every use is standard, but a full deep clean — including the sealing ring, valve, and condensation collector — should happen roughly every one to two weeks with regular use, or immediately after cooking anything greasy, sugary, or strongly scented (think ribs, caramel, or fish). If you use the appliance daily, lean toward the weekly end of that range.
Common Mistakes to Avoid
- Submerging the main housing. The base unit contains electrical components and should never be immersed in water or rinsed under a tap.
- Ignoring the sealing ring. A neglected ring holds onto odors and can prevent a proper pressure seal, leading to longer cook times or failed pressurization.
- Using abrasive scrubbers. Steel wool or scouring pads scratch non-stick surfaces, giving grease more places to cling to.
- Skipping the condensation collector. Left unemptied, it can grow bacteria and produce a sour smell that transfers to food.
- Reassembling while still damp. Trapped moisture inside a sealed lid is a fast track to mildew.
- Letting grease bake onto the element repeatedly. Each air-fry session without cleaning adds another layer that eventually starts smoking.
Everyday Maintenance Tips
- Wipe the interior and lid after every cook, even if you’re not doing a full deep clean.
- Empty the condensation collector after each use rather than letting it sit.
- Store the sealing ring separately or leave the lid slightly ajar between uses to prevent trapped odors.
- Keep a small brush near the appliance so cleaning the valve and vents becomes a quick habit rather than a chore you put off.
Choosing the Right Multicooker if Yours Is Hard to Clean
If your current unit has fiddly seams, a valve that’s difficult to reach, or a basket that traps grease no matter how carefully you scrub, it may be worth looking at models built with easier maintenance in mind. Our roundup of air fryer multicookers highlights units with dishwasher-safe components and simpler seal designs that cut down on deep-cleaning time.
Bottom-heat baked-on residue is another common complaint with multicookers that also air fry, since the lower heating element is harder to reach than the basket. If that’s a recurring issue, see our guide to air fryers with bottom heat for models designed with more accessible heating elements.
And if counter space or reach into a deep pot is part of the frustration, our list of tall air fryers covers vertical designs that can make wiping down the interior and removing baked-on grease noticeably easier.
Frequently Asked Questions
Can I put the sealing ring in the dishwasher?
Most silicone sealing rings are dishwasher-safe on the top rack, but hand-washing extends their lifespan and reduces the chance of the ring absorbing dishwasher detergent smells. Check your manual to confirm.
Why does my multicooker smell even after cleaning?
Lingering odor is almost always the sealing ring or condensation collector. Soak the ring in a vinegar-and-water solution for 20–30 minutes, and make sure the collector is fully rinsed and dried, not just emptied.
Is it safe to spray cleaner directly into the unit?
No. Never spray liquid cleaner directly onto the heating element, fan, or into the base housing. Apply cleaner to a cloth or brush instead and wipe those areas by hand.
My pressure lid won’t seal properly — is that a cleaning issue?
Often, yes. A warped or dirty sealing ring, food debris around the float valve, or a residue-clogged anti-block shield are the most common causes of a poor seal. Deep clean those three parts first before assuming there’s a mechanical fault.
How do I clean the heating element without damaging it?
Use a soft brush to loosen debris while the unit is unplugged and cool, then wipe with a barely damp cloth. Avoid water pooling around the element and never submerge that section of the unit.
Final Thoughts
A deep clean routine for an air fryer multicooker takes maybe twenty minutes once you know which parts need attention, but it’s the difference between an appliance that lasts for years and one that starts smelling off, sealing poorly, or smoking during air-fry mode within a few months. Build the habit of a quick daily wipe-down plus a thorough deep clean every one to two weeks, and your multicooker will keep performing the way it did on day one.