
Flip-top air fryers trade the pull-out basket for a hinged lid that lifts up and over, giving you a wider mouth for loading food and a different set of parts to keep clean. That hinge mechanism, the exposed heating element under the lid, and the wider cooking chamber all collect grease and crumbs in places a standard basket model never has to deal with. Skipping regular cleaning on a flip-top model does not just look bad – it can slow preheating, trigger smoke from burnt-on residue, and eventually make the lid harder to latch and seal properly.
This guide walks through exactly how to clean a flip-top air fryer safely, step by step, plus the ongoing care habits that keep the hinge, seal, and heating element working the way they should for years.
Why Flip-Top Models Need a Different Cleaning Routine
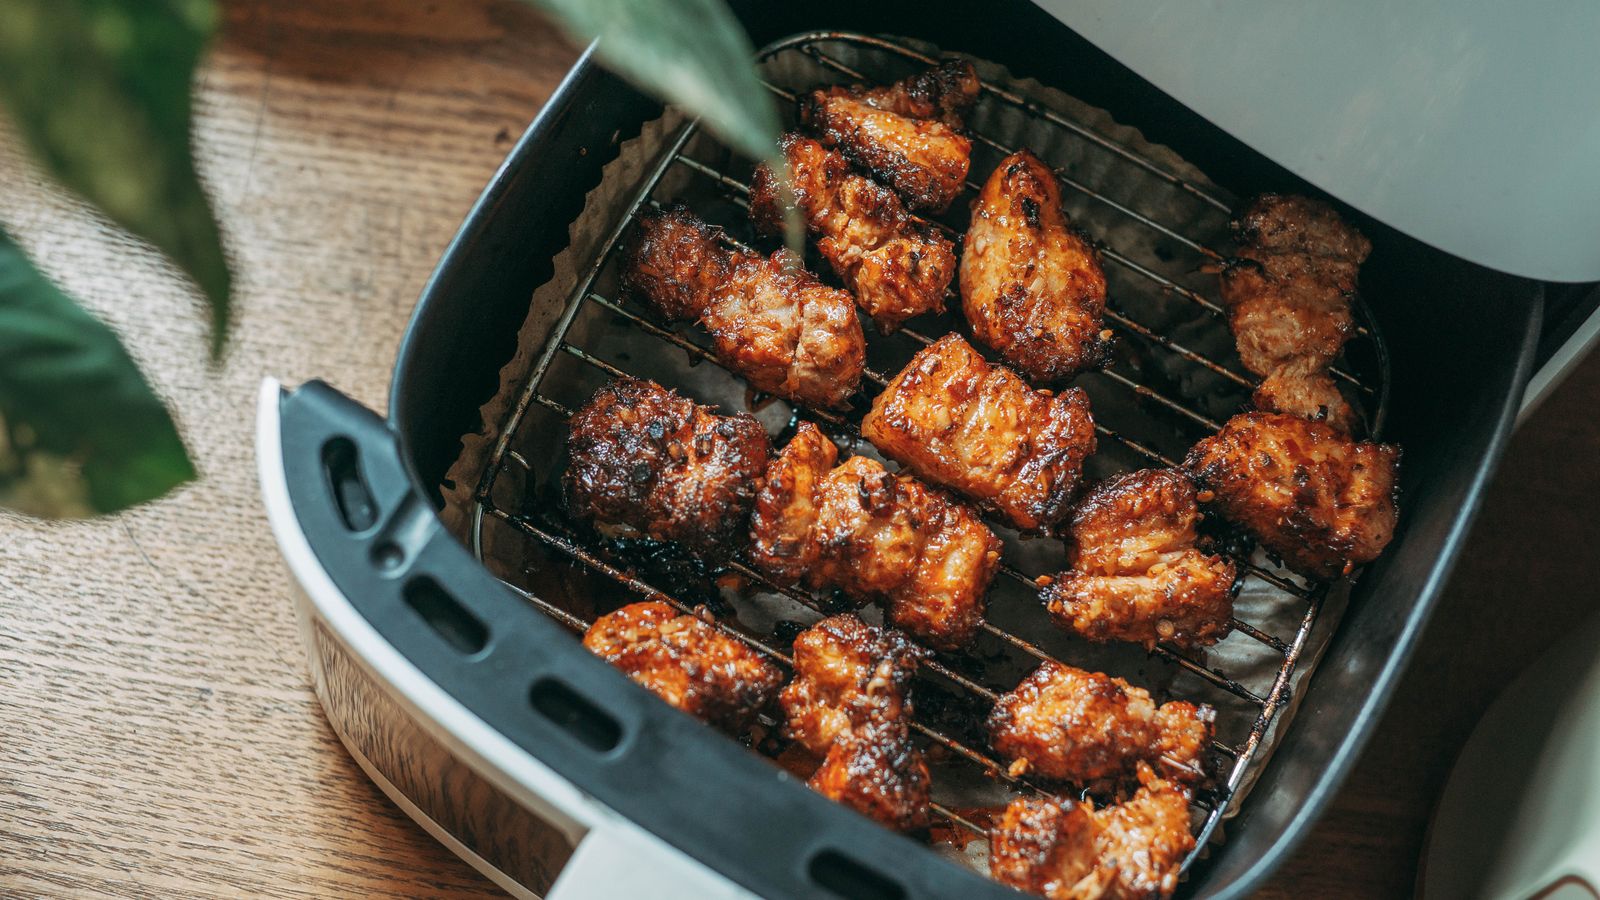
Most air fryers use a drawer-style basket that slides out completely, making it easy to carry the whole unit to the sink. A flip-top design works differently: the lid hinges open and stays attached to the body, and the heating coil is mounted directly above the food rather than tucked inside a removable lid. That has a few practical consequences for cleaning:
- The hinge collects grease. Oil splatter and steam condensation settle into the hinge mechanism, where they can gum up the movement over time if never wiped away.
- The heating element is exposed when open. Crumbs and oil droplets land directly on the coil, and burnt residue there is what causes the acrid smoke smell on the next use.
- The seal/gasket around the lid needs attention. A greasy or cracked gasket lets heat escape, which is part of why some models pair flip-top designs with air fryers with auto shutoff as a safety backup.
- The cooking chamber is wider and shallower, so grease can spread further across the interior walls than in a deep, narrow basket.
None of this is complicated to manage, but it does mean a flip-top unit rewards a slightly more deliberate cleaning routine than a basket model.
What You’ll Need Before You Start
Gather these before you begin so you’re not stopping mid-clean with wet hands:
- Warm water and a small amount of mild dish soap
- A soft sponge or non-abrasive cleaning cloth
- A soft-bristled brush (an old toothbrush works well) for the hinge and corners
- A microfiber cloth for drying and wiping the exterior
- A wooden or plastic scraper for stuck-on residue – never metal
- Baking soda for occasional deep-cleaning of baked-on grease
Avoid steel wool, abrasive scouring pads, and harsh oven-cleaner sprays. These can scratch nonstick coatings and damage the finish around the hinge and seal, which shortens the appliance’s lifespan far faster than regular soap-and-water cleaning ever would.
Step-by-Step: Cleaning Your Flip-Top Air Fryer
- Unplug and let it cool completely. Never clean an air fryer while it’s warm – you risk burns, and cold water on a hot nonstick surface can warp or crack it.
- Remove the removable parts. Take out the basket, tray, or crisper plate (whichever your model uses) and set them aside for washing separately.
- Wipe the heating element gently. With the lid open, use a damp, soft cloth or a soft brush to gently remove crumbs and grease from around the coil. Do not spray water directly onto the element or scrub it with anything abrasive.
- Wash the basket and trays. Hand-wash in warm, soapy water with a soft sponge. For baked-on residue, soak for 10-15 minutes first rather than scrubbing hard. Check your manual – many flip-top trays are dishwasher-safe on the top rack, but not all.
- Clean the interior cooking chamber. Wipe down the walls and floor of the chamber with a soapy, damp cloth, then a clean damp cloth to rinse off soap residue, then dry thoroughly.
- Attend to the hinge. Use a soft brush to work grease and crumbs out of the hinge joint where the lid meets the body. A cotton swab dipped in warm soapy water works well for tight gaps.
- Wipe the seal/gasket. Run a damp cloth around the rubber or silicone gasket that lines the lid, checking for cracks, warping, or grease buildup as you go.
- Clean the exterior. Wipe the housing, control panel, and lid exterior with a damp microfiber cloth. Avoid soaking the control panel or letting water drip into any vents.
- Dry everything before reassembling. Let all parts air-dry fully, or towel-dry them, before putting the basket and trays back and closing the lid. Trapped moisture is a common cause of lingering odors.
Deep-Cleaning for Stubborn, Baked-On Grease
If regular wipe-downs haven’t kept up and you’re dealing with genuinely baked-on residue, a baking soda paste is the safest deep-clean method:
- Mix baking soda with a small amount of water to form a thick paste.
- Spread it over the greasy areas of the basket, tray, or chamber walls and let it sit for 15-20 minutes.
- Gently scrub with a soft sponge or brush – the paste lifts baked-on grime without scratching nonstick surfaces.
- Rinse thoroughly with warm water and dry completely.
For persistent odors, running the empty basket with a few lemon slices or a bowl of water and vinegar at a low temperature for a few minutes can help neutralize smells, though you should always check your specific model’s manual before trying this.
Ongoing Care Tips to Extend Its Lifespan
- Wipe after every use, not just when it looks dirty. A quick wipe of the basket and chamber while residue is still fresh prevents the buildup that eventually needs deep-cleaning.
- Check the hinge periodically for smooth movement. If the lid feels stiff or sticky when opening, that’s a sign grease has built up and needs attention before it affects the seal.
- Inspect the gasket every few weeks. A cracked or worn seal lets heat escape, forcing the unit to work harder and cook less evenly – this is especially relevant if you’re comparing units among flip top air fryers, since seal quality varies noticeably between models.
- Avoid overfilling the basket. Overfilling pushes oil and food particles higher up toward the heating element and hinge, creating more mess and more smoke.
- Store it dry and uncovered for a few minutes after cleaning. Closing the lid on a damp interior traps moisture and encourages odors or mildew.
- Descale or wipe any grill plates regularly if your model doubles as a combo unit. Flip-top designs are common on air fryer grill combos, and the grill plates need the same grease-prevention routine as the main basket.
Common Mistakes to Avoid
- Submerging the main unit in water. Only the removable basket and trays should get fully washed – the body housing the heating element and controls should never be submerged.
- Using metal utensils or scrapers. These scratch nonstick coatings and can damage the hinge mechanism if used to pry it open.
- Cleaning while the unit is still hot. Beyond the burn risk, sudden temperature changes can warp nonstick surfaces.
- Ignoring the hinge until it sticks. By the time a flip-top lid feels hard to open, grease has usually built up significantly and needs more thorough attention than a quick wipe.
- Skipping the drying step. Closing up a still-damp basket is one of the most common causes of persistent odors in flip-top models.
Frequently Asked Questions
How often should I clean my flip-top air fryer?
Wipe the basket and tray after every use, and do a full clean – including the hinge and gasket – about once a week with regular use. Heavy users cooking daily may want to check the hinge and heating element every few days.
Can I put the basket in the dishwasher?
Many flip-top baskets and trays are dishwasher-safe, but always check your specific model’s manual first, since nonstick coatings on some models hold up better with hand-washing.
Why does my flip-top air fryer smell like smoke when I turn it on?
This almost always means there’s grease or food residue burning off the heating element. Unplug, let it cool, and gently clean around the coil with a soft brush as described above.
Is it normal for the hinge to feel stiff over time?
A little resistance is normal, but if it feels notably stiffer than when new, grease has likely built up inside the hinge joint. A soft brush and warm soapy water on a cotton swab usually resolves it.
What should I do if the lid won’t seal tightly anymore?
Check the gasket for cracks, warping, or trapped debris first. If the gasket looks intact but the seal is still loose, the unit may need servicing, or it may be time to compare newer options with a tighter, more reliable seal.
A little routine attention is really all a flip-top air fryer needs to keep performing well. Wipe it down after each use, give the hinge and gasket a proper check weekly, and deep-clean baked-on grease with baking soda when it builds up. Stay consistent with these habits and your flip-top model will keep cooking evenly and smoke-free for years to come.