
Refreshing your air fryer accessory drawer doesn’t have to mean spending on everything at once. Between an air fryer accessory kit, a set of racks, and even a vacuum with a self-cleaning brush for tidying up the crumbs and grease that inevitably land on the counter, it’s easy to overspend on items you don’t actually need this month. This guide walks through a simple, practical budgeting approach so you can prioritize the right purchases first, spread out the rest, and end up with a drawer that actually works for how you cook.
Why Budgeting for Accessories Matters
Air fryer accessories are individually inexpensive, which is exactly why drawers get cluttered and budgets get blown. A $12 rack here, a $20 kit there, and suddenly you’ve spent $80 on tools that overlap in function. A short budgeting exercise before you buy anything prevents duplicate purchases, helps you sequence spending around what you’ll actually use weekly, and keeps your kitchen drawer from turning into a jumble of half-used gadgets.
The goal isn’t to spend the least amount possible – it’s to spend deliberately, on the pieces that solve a real problem in your cooking routine, in an order that makes sense for your budget.
Step 1: Audit What You Already Own
Before adding anything new, pull everything out of your current accessory drawer and lay it on the counter. Note what you use weekly, what you use occasionally, and what hasn’t been touched in months. This single step often reveals that you don’t need a full new set – just one or two specific pieces.
- Weekly-use items: keep and don’t replace unless worn out.
- Occasional-use items: keep unless they’re damaged or warped.
- Unused items: consider donating or repurposing the drawer space.
Step 2: Set Three Spending Tiers
Rather than one lump budget, split your accessory refresh into three tiers so you can buy in stages without financial strain.
Tier 1: Essentials (roughly $15-$35)
This tier covers the single most-used missing item – often a rack for two-level cooking or a compact accessory kit with the basics (liners, a cake pan, a skewer set). If you’re only buying one thing this month, an air fryer accessory kits bundle usually delivers the most utility per dollar because it covers several needs at once instead of just one.
Tier 2: Function Upgrades (roughly $20-$45)
Once the basics are covered, this tier is for solving a specific cooking limitation – usually stacking capacity. A dedicated set of air fryer racks lets you cook more food per batch, which is especially useful for larger households or batch-cooking weekends.
Tier 3: Kitchen Upkeep (roughly $60-$150)
This tier isn’t about the air fryer basket at all – it’s about keeping the surrounding kitchen clean as crumbs, oil splatter, and pet hair accumulate near your cooking station. A vacuum with a self-cleaning brush roll saves you from manually pulling out tangled hair and debris after every use, which matters more the more often you cook.
Step 3: Compare the Three Options Side by Side
Here’s how the three categories stack up when you’re deciding where your next dollar should go.
Air Fryer Accessory Kit
Best if: your drawer is nearly empty and you need broad coverage fast. Kits typically bundle 6-12 pieces (pans, liners, tongs, skewers) for one price, which is more economical than buying items individually. Downside: some pieces in a kit may not fit your exact basket size, so check compatibility before buying.
Air Fryer Rack
Best if: you already have the basics but keep running out of basket space. A rack is a single-purpose purchase, so it’s a smaller budget line, but the payoff is real – doubling your usable cooking surface without buying a second appliance.
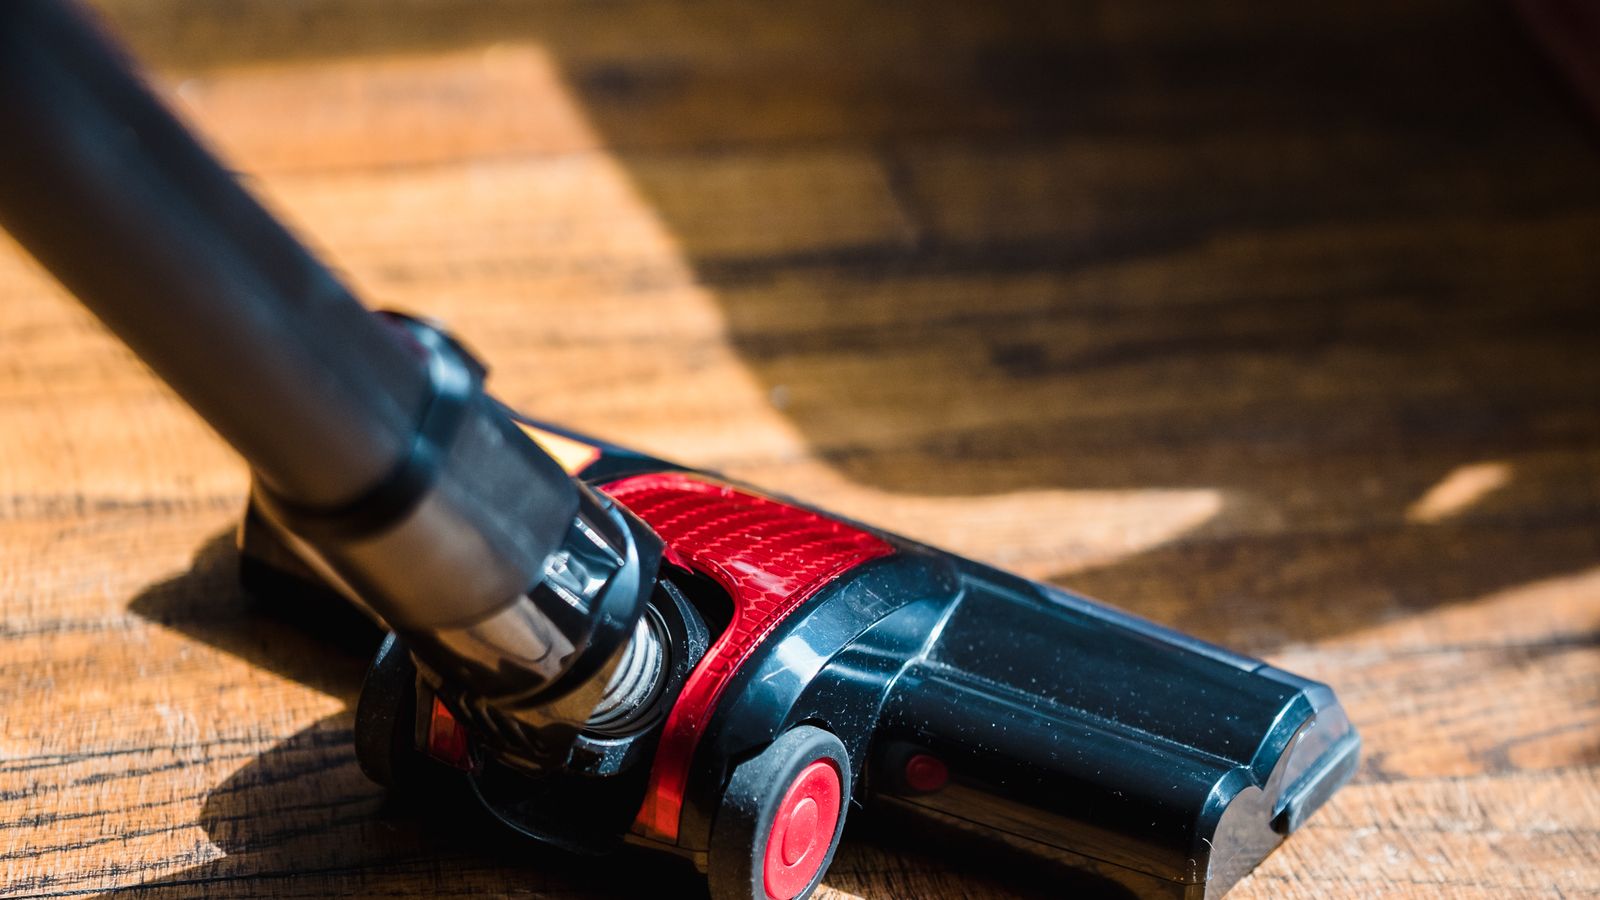
Vacuum with a Self-Cleaning Brush
Best if: cleanup time has become a bigger hassle than cooking itself, or you have pets shedding near the kitchen. It’s the highest upfront cost of the three, but it’s a household tool that pays off well beyond air fryer use, which changes the cost-per-use math significantly over a year.
Step 4: Decide Your Buying Order
Once you know your tiers and have compared the options, sequence your purchases using this simple checklist:
- List every accessory gap identified in your audit (Step 1).
- Rank each gap by how often it would be used per week.
- Assign each gap to Tier 1, 2, or 3 based on price and urgency.
- Buy Tier 1 first, and use it for at least two weeks before deciding on Tier 2.
- Only move to Tier 3 (cleaning tools) once cooking accessories are settled and cleanup has become a recurring pain point.
- Revisit your drawer every few months to retire worn-out pieces before adding new ones.
Common Budgeting Mistakes to Avoid
- Buying a kit and a rack that overlap. Check what’s already included in a kit before adding a standalone rack – some kits already include stackable racks.
- Treating the vacuum purchase as an air-fryer-only expense. It’s a household investment; budget for it separately from your accessory spending, not as a competing line item.
- Buying the cheapest option in every tier. Ultra-low-cost racks and kits often warp under heat faster, which means you replace them sooner and spend more over time.
- Skipping the audit step. Without it, it’s easy to buy accessories you already own in a slightly different shape.
A Sample Monthly Budget Plan
If you want to spread the full refresh across a few months rather than buying everything at once, here’s a workable pace:
- Month 1: Air fryer accessory kit ($15-$35) – covers daily cooking gaps immediately.
- Month 2: Air fryer rack ($20-$45) if batch cooking or stacking is still a bottleneck.
- Month 3-4: Vacuum with a self-cleaning brush ($60-$150), timed around a sale if possible.
This staggered approach avoids one large hit to your budget and lets you evaluate whether each purchase actually solved the problem you bought it for before spending more.
Frequently Asked Questions
Should I buy the accessory kit or the rack first?
Start with the kit if your drawer is mostly empty – it covers more use cases per dollar. Choose the rack first only if you already own the basics and your main frustration is limited cooking capacity.
Is a self-cleaning-brush vacuum really necessary for an air fryer kitchen?
It’s not required, but if crumbs, oil splatter, or pet hair near your cooking area are a recurring annoyance, it removes a chore that a standard vacuum makes tedious by requiring you to manually cut out tangled debris.
How much should I expect to spend on a full accessory refresh?
A modest refresh covering a kit and a rack typically lands between $35 and $80. Adding a self-cleaning-brush vacuum brings the full kitchen-upkeep refresh closer to $100-$230, depending on the vacuum’s features.
Do I need to replace all my accessories at once?
No. The tiered approach in this guide is designed specifically so you can spread purchases out and only buy what solves an actual problem, rather than restocking your whole drawer in one trip.
What if my budget is very tight?
Focus on Tier 1 only. A single well-chosen accessory kit solves the majority of everyday gaps, and you can revisit racks or cleaning tools once your budget allows.
Final Thoughts
Budgeting for an air fryer accessory drawer refresh comes down to sequencing, not just saving. Audit what you have, rank what’s missing by how often you’ll use it, and buy in tiers instead of all at once. Whether you start with an air fryer accessory kits bundle, add a set of air fryer racks for extra cooking capacity, or eventually invest in vacuums with self cleaning brushes to keep the kitchen tidy, a staged budget keeps your spending purposeful and your drawer genuinely useful instead of just full.